Creating custom styles
You can create Custom styles using the Style builder.
Important information about custom styles:
- Custom styles are CSS classes
- They are prefixed with .coh-style- to prevent them from conflicting with other CSS classes
- They are grouped into categories that correspond with the types of element they can be applied to.
Create a custom style
To create a Custom style:
- Navigate to Site Studio > Styles > Custom styles
- Click Add custom style

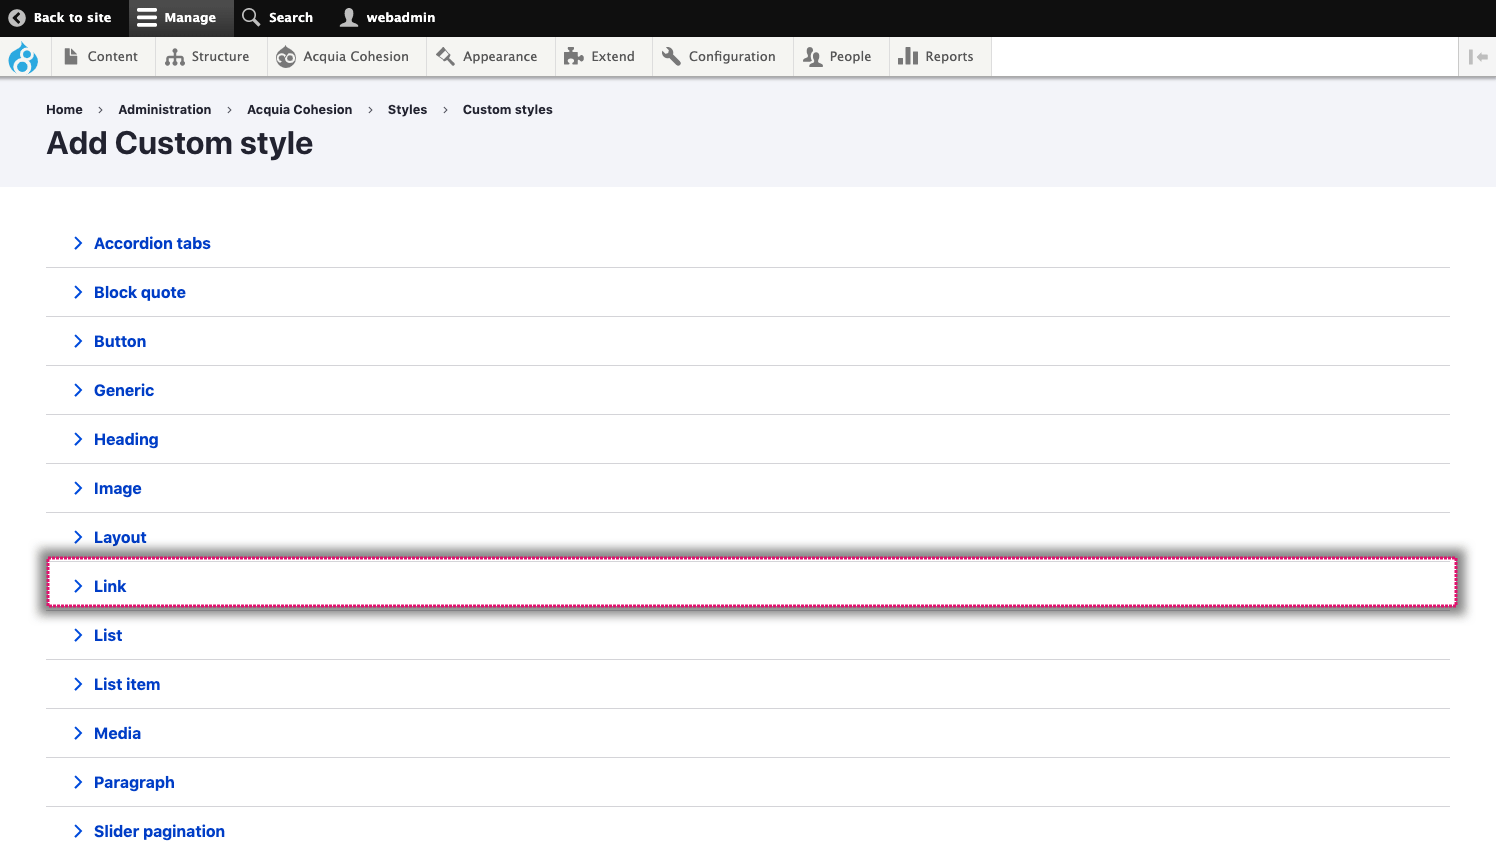
- In the list of Custom style types, click on the Custom style type you want to create

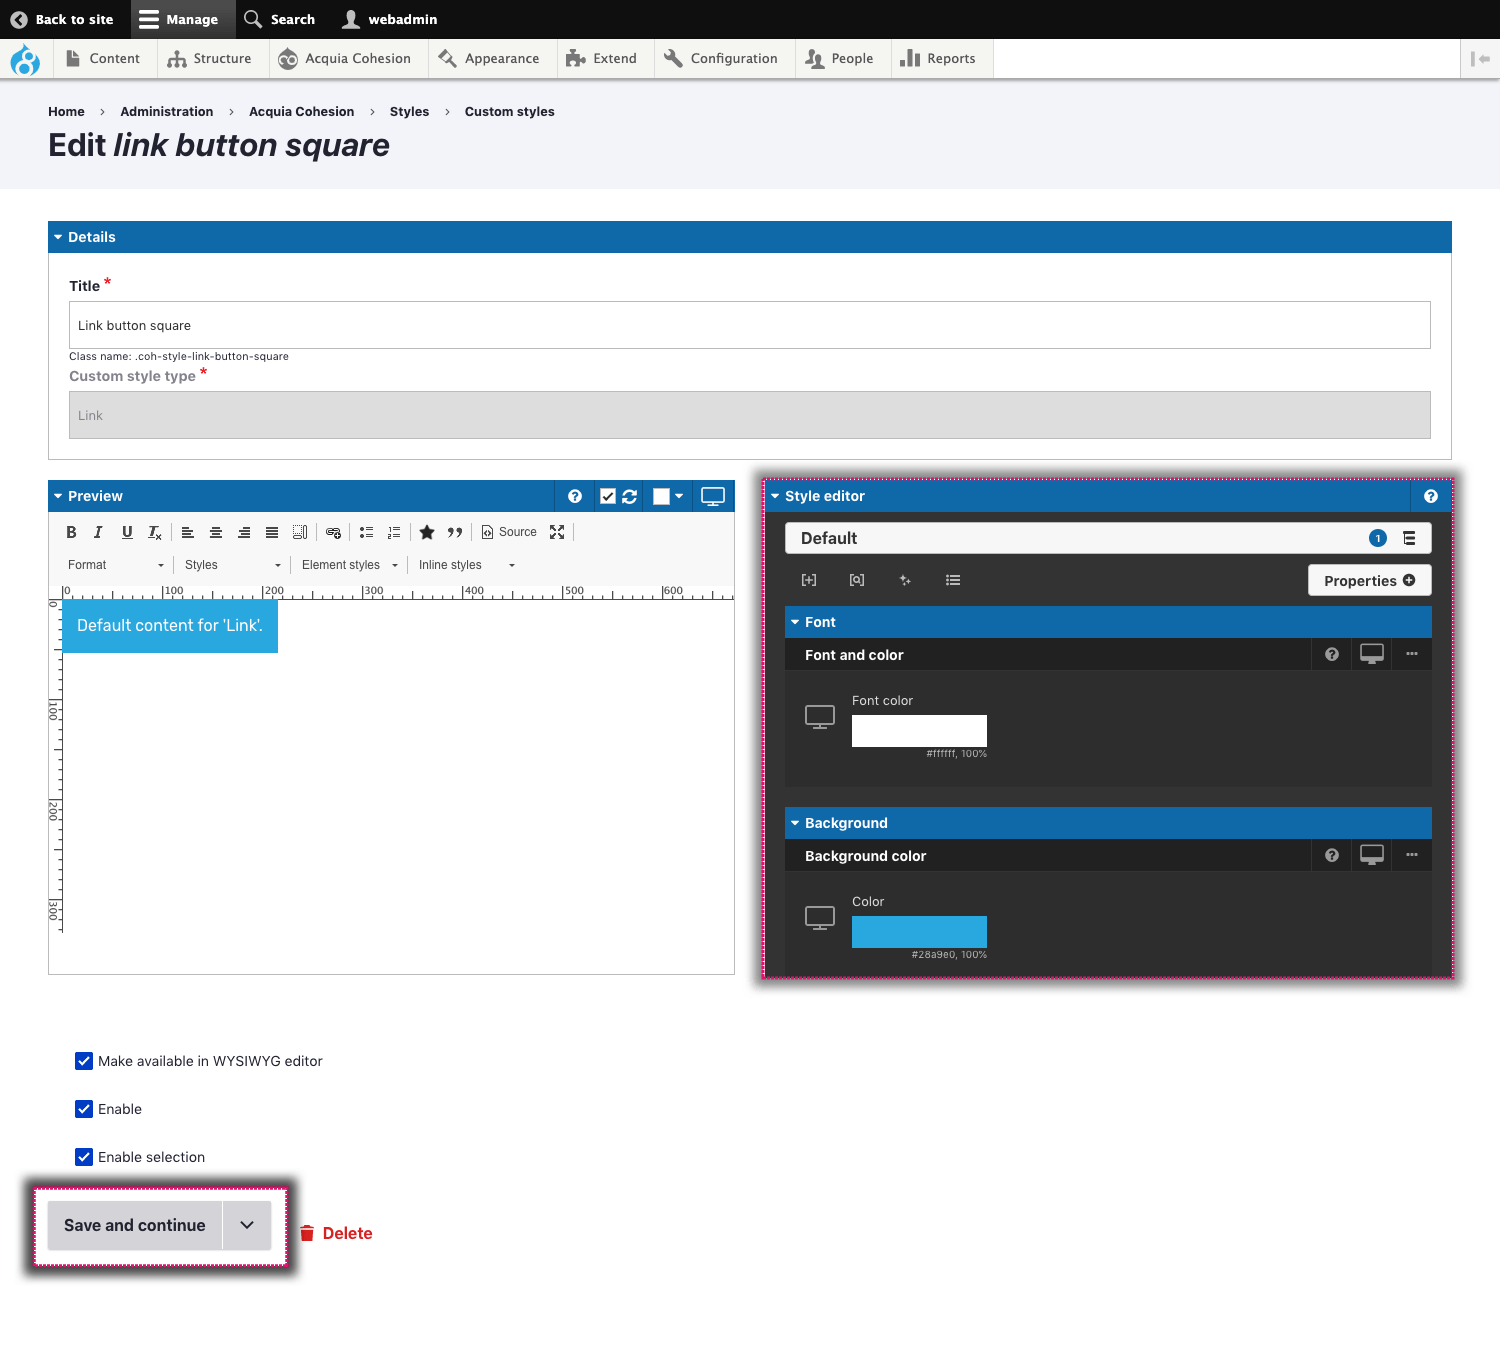
- On the next screen, enter a name in the Title field for your Custom style. This will be used to generate the class name. It will be prefixed with .coh-style- to prevent it from conflicting with other classes

- Add CSS Properties to your Custom style using the Style builder. For more, see Using the style builder
- Click Save and continue

Making your custom style available in your WYSIWYG
You can make your Custom style available in your WYSIWYG editor as both an element style and an inline span. For more, see Editing content with the WYSIWYG.
To make your style available to the WYSIWYG,
- Navigate to Site Studio > Styles > Custom styles
- Click on a Custom style to make available in the WYSIWYG
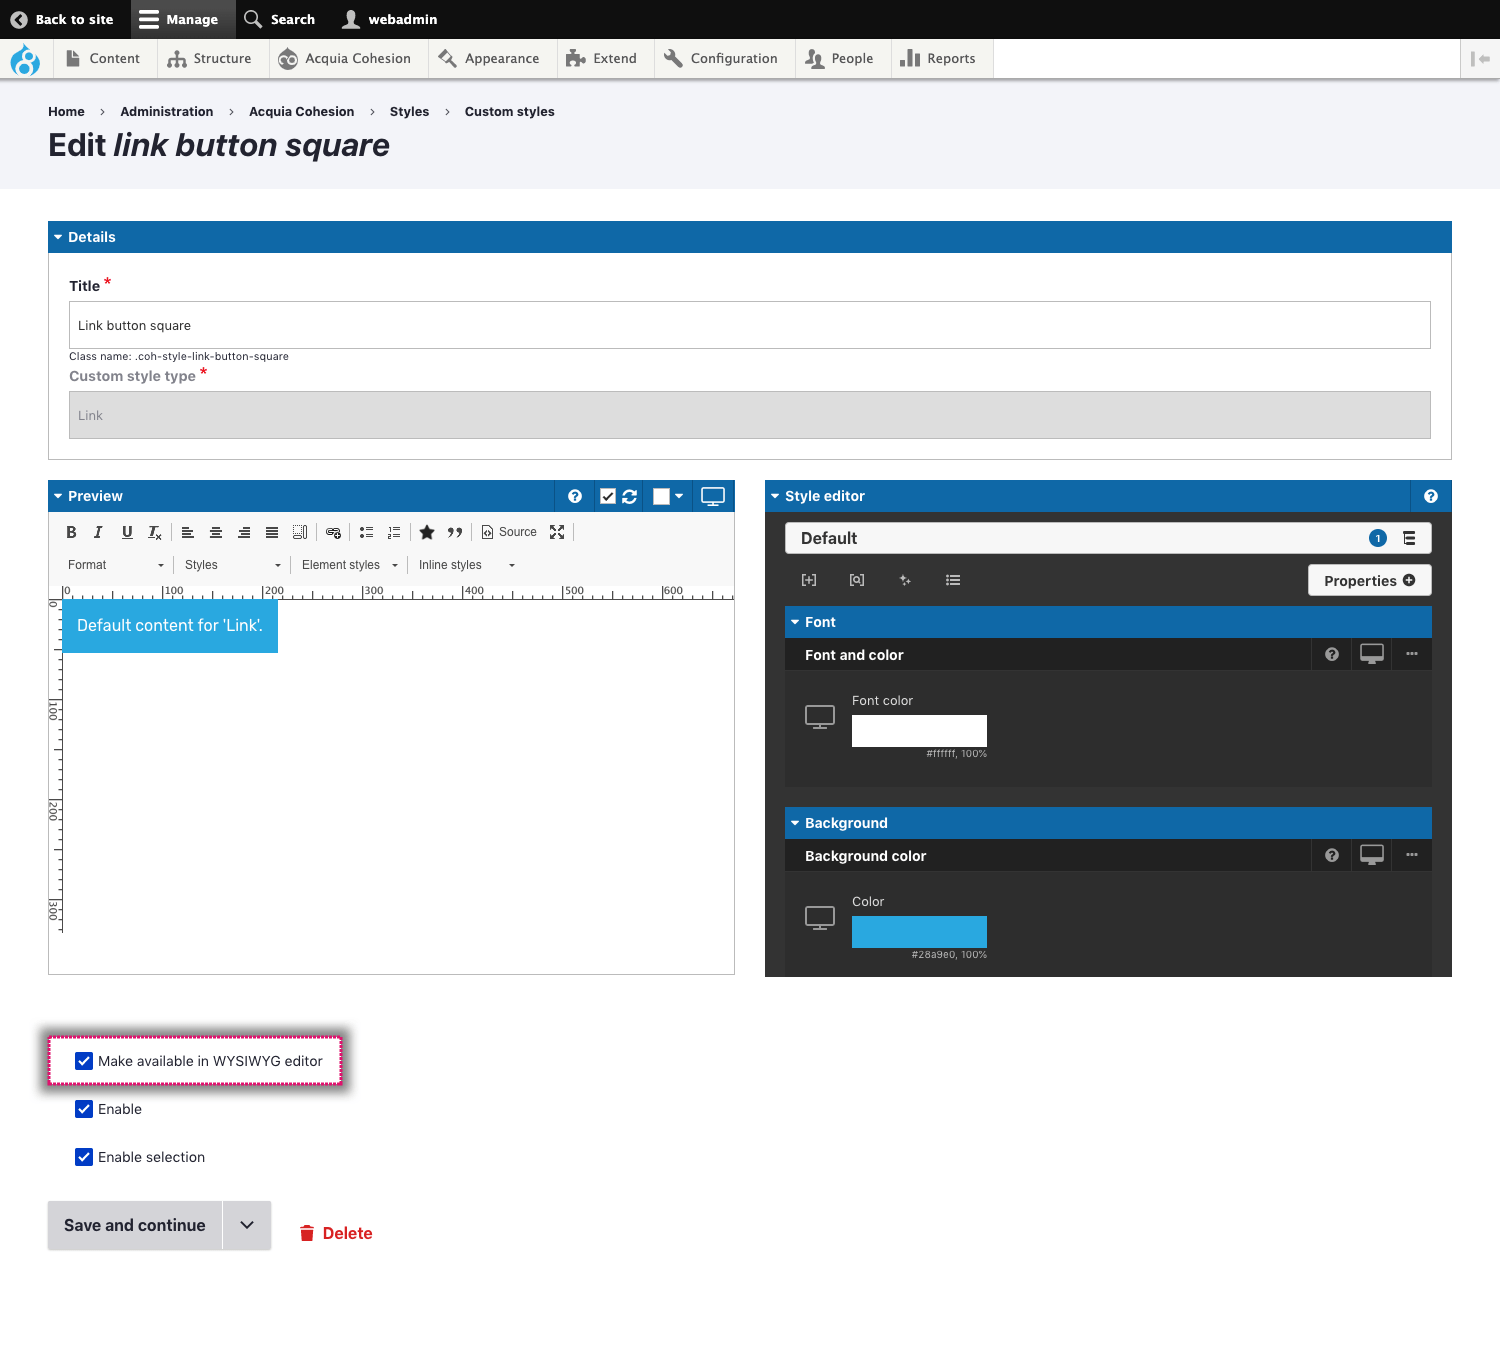
- At the bottom of the screen, click on the checkbox labelled Make available in WYSIWYG editor

Applying custom styles to elements on the Layout canvas
When you create a Custom style, it's made available to Elements on the Layout canvas.
To apply a Custom style to an element:
- Navigate to a component or template to access the Layout canvas
- Add an element to the Layout canvas that matches the Custom style type you've created. For example, add the Link element.
- Double click on the Element to edit it's settings
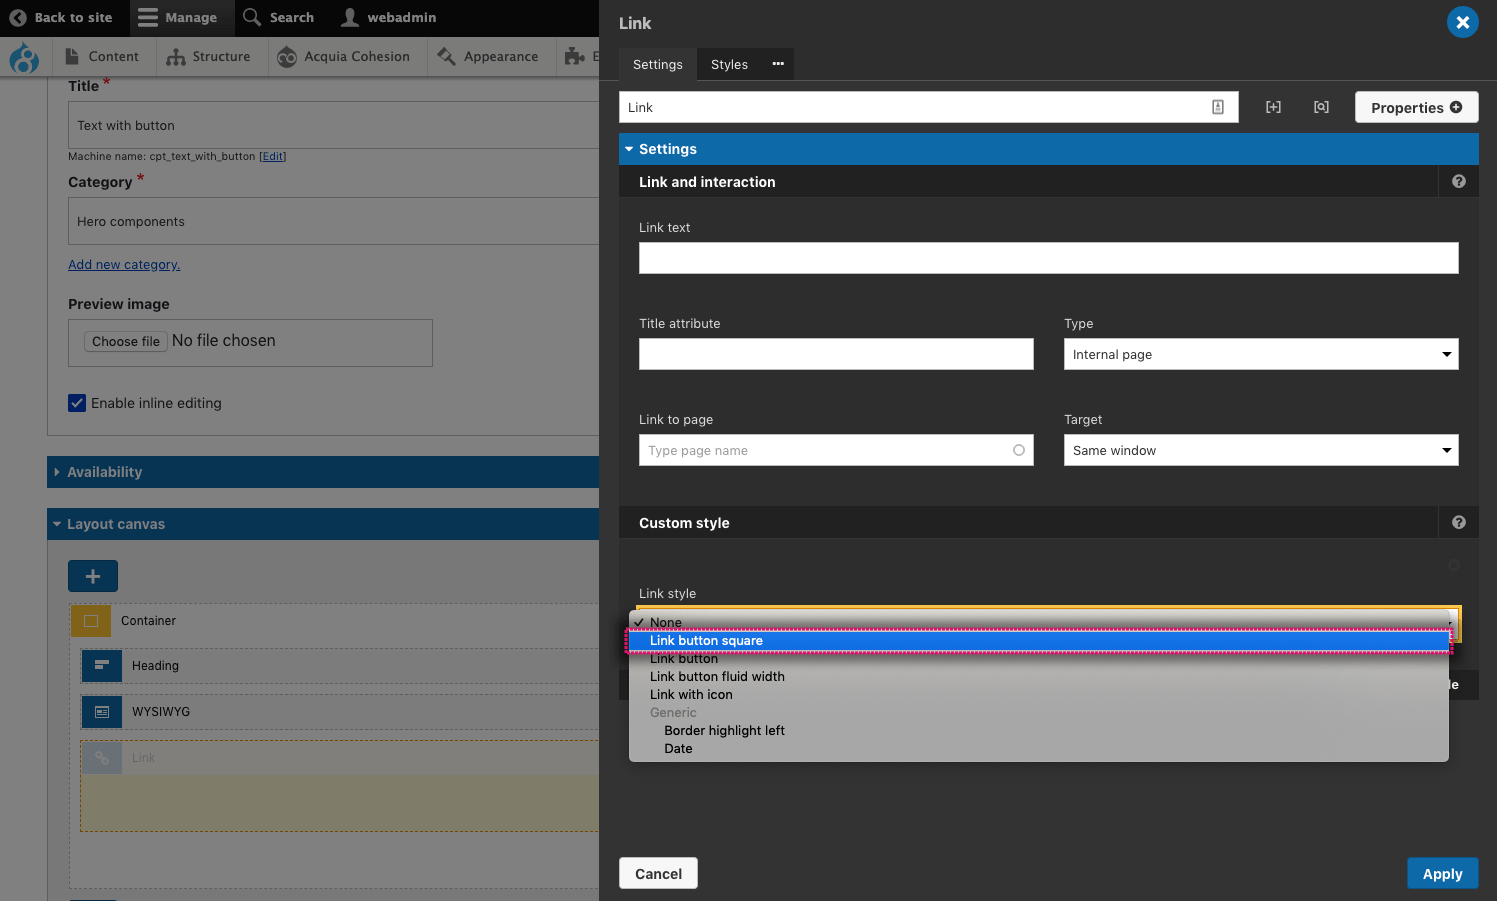
- Within the Custom style area, click on the Drop-down and select your Custom style.
- Click Apply at the bottom of the Element settings


