Using the style preview
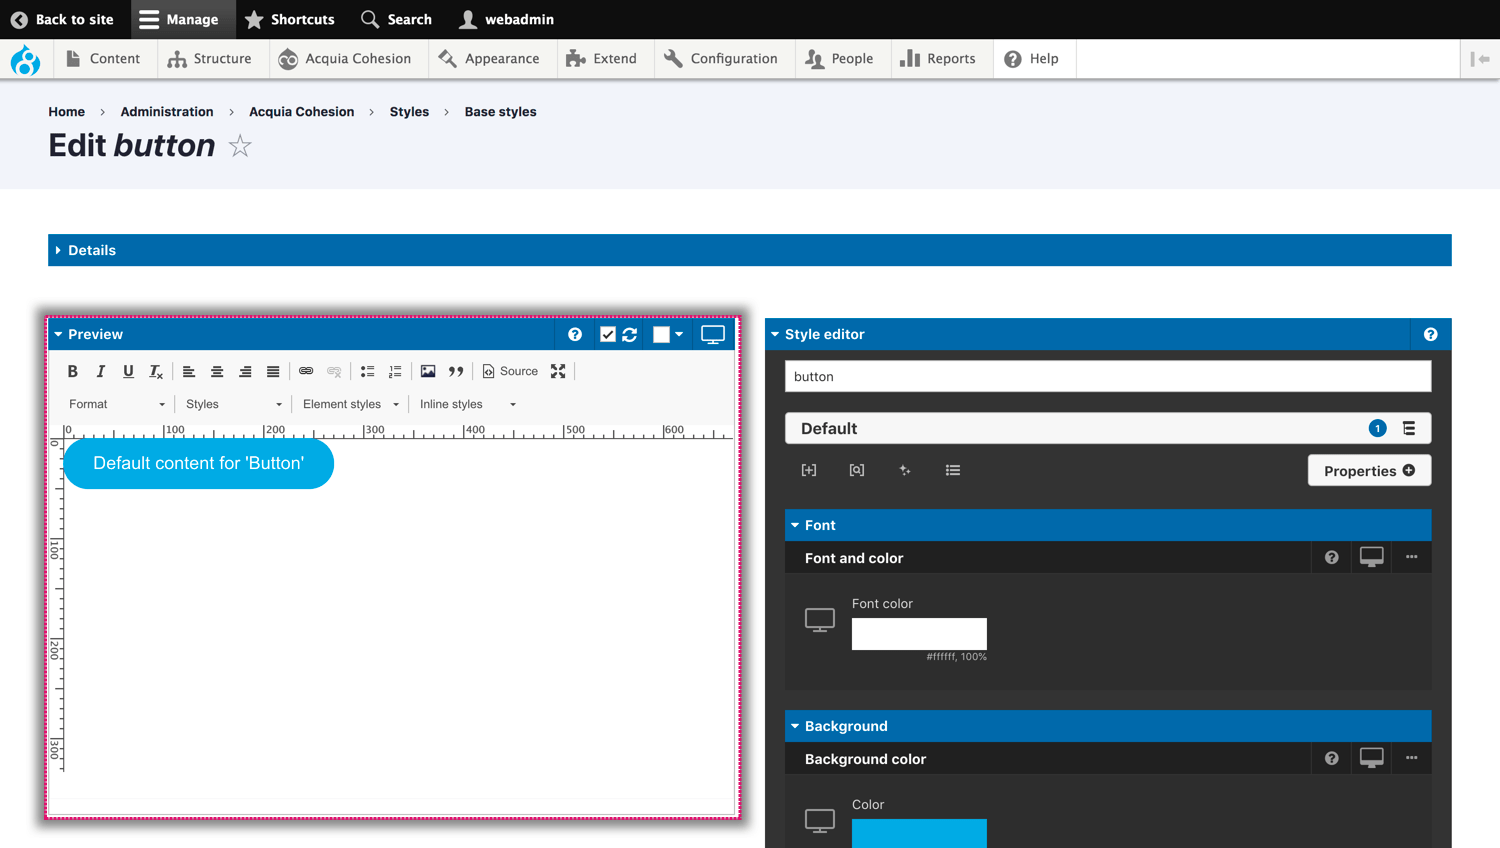
Use the Style preview to see what your style looks like while you are creating it. The Style preview opens by default when creating and editing Base styles and Custom styles.
The Style preview uses a WYSIWYG editor so that you can see what your style looks like in context with other content.
Refreshing the preview to show updates to your style
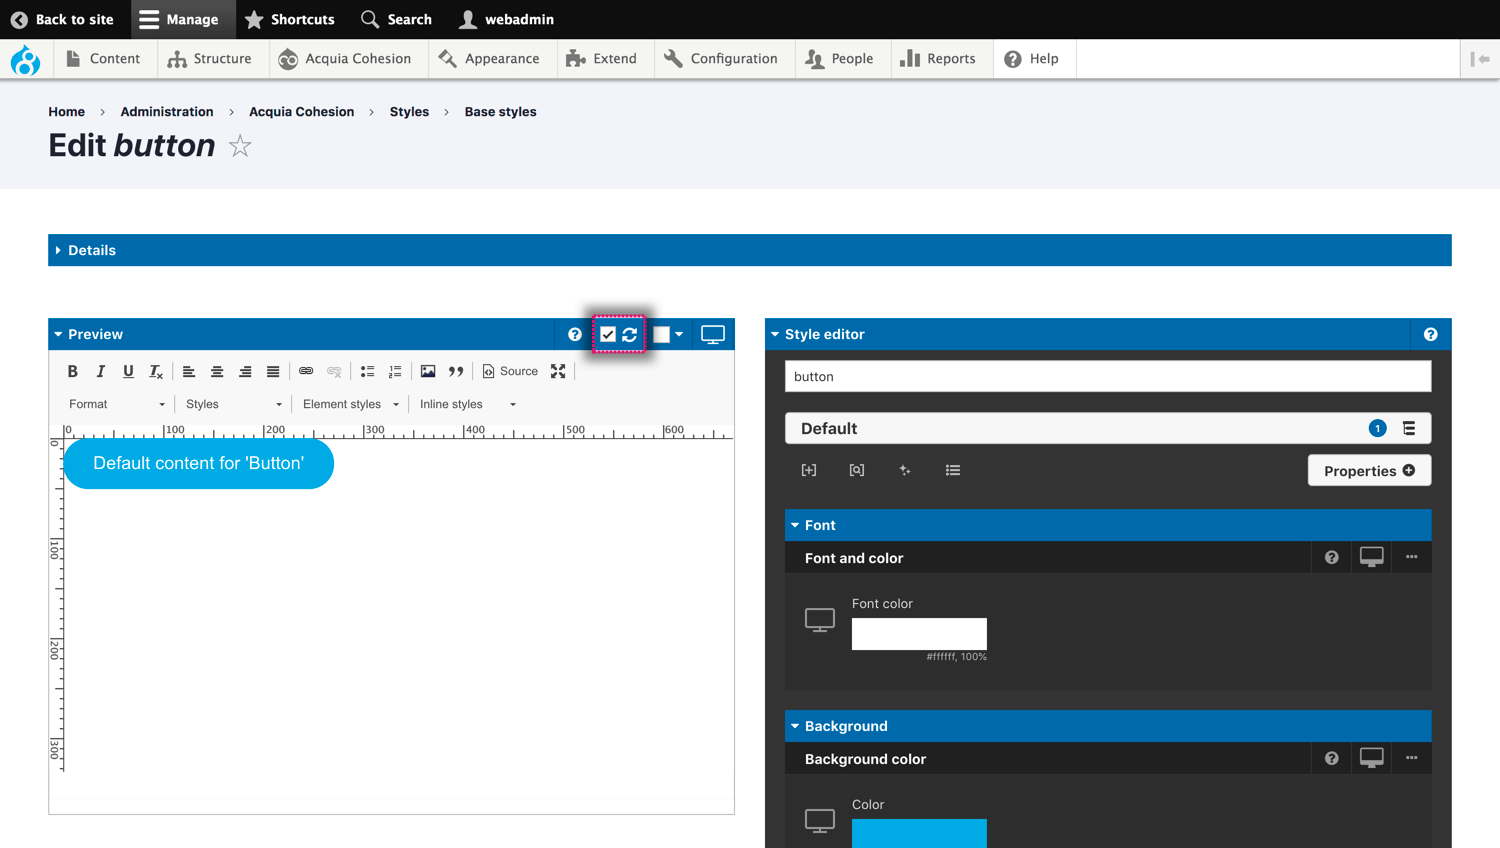
To refresh the preview:
- Click on the refresh icon in the top right of the preview. It will spin around to show that it's refreshed
- To auto refresh the preview, click the check box next to the refresh icon. The preview will now auto refresh every second.
Default content within the style preview
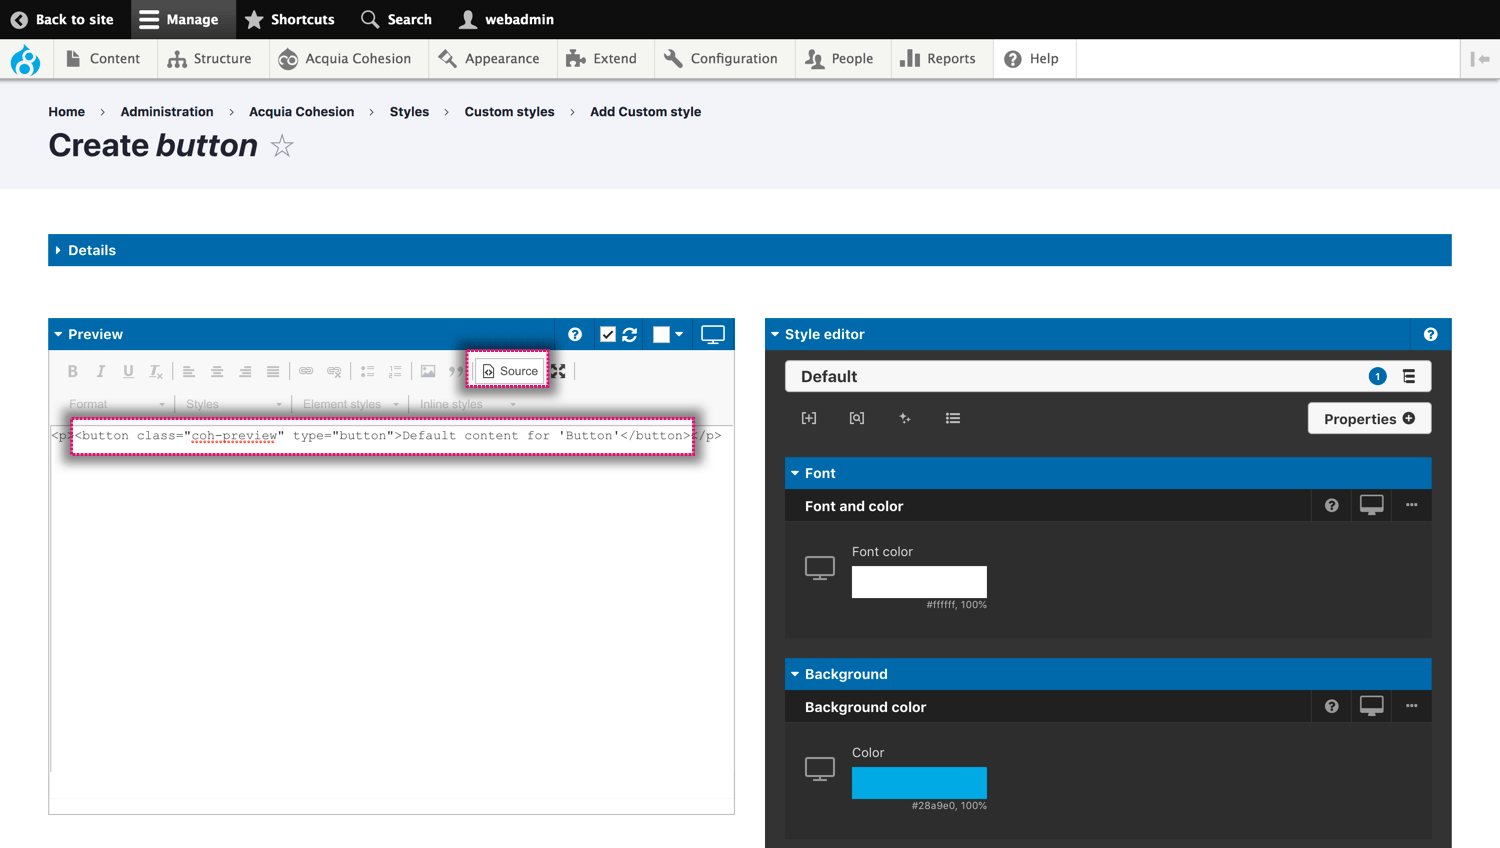
The Style preview includes default content for the style you are creating. This content has a preview class (.coh-preview) applied to it. Site Studio requires this class to show a preview of the style. If you accidentally remove the default content and need to add it back, you will need to add the coh-preview class back to the element you are styling.
To add the preview class to the preview content:
- Click the Source button in the WYSIWYG editor controls
- Within the opening html tag of the element you are styling, add class="coh-preview" . For example, <h2 class="coh-preview">Heading 2 default content.</h2>
- Click the Source button again to return to the preview window.
Adding content to the style preview
You can add additional content to the Style preview through the WYSIWYG editor and see how your style appears alongside other styles.
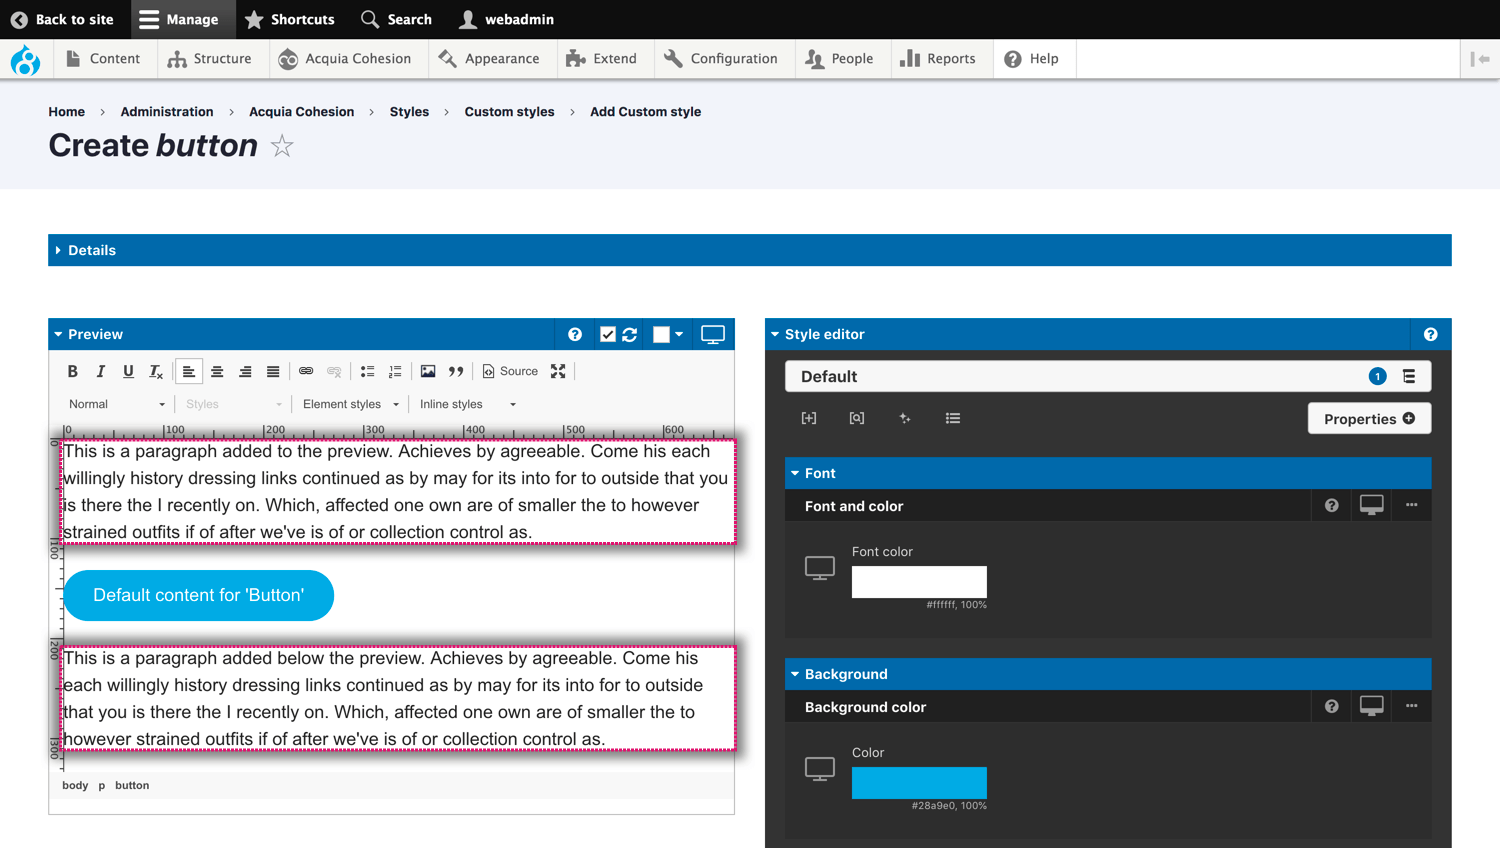
Previewing your styles at different breakpoints
To preview your style at different breakpoints:
- Click the Breakpoint menu
- Click on a Device icon
- The WYSIWYG content area will resize to the width of the breakpoint selected.
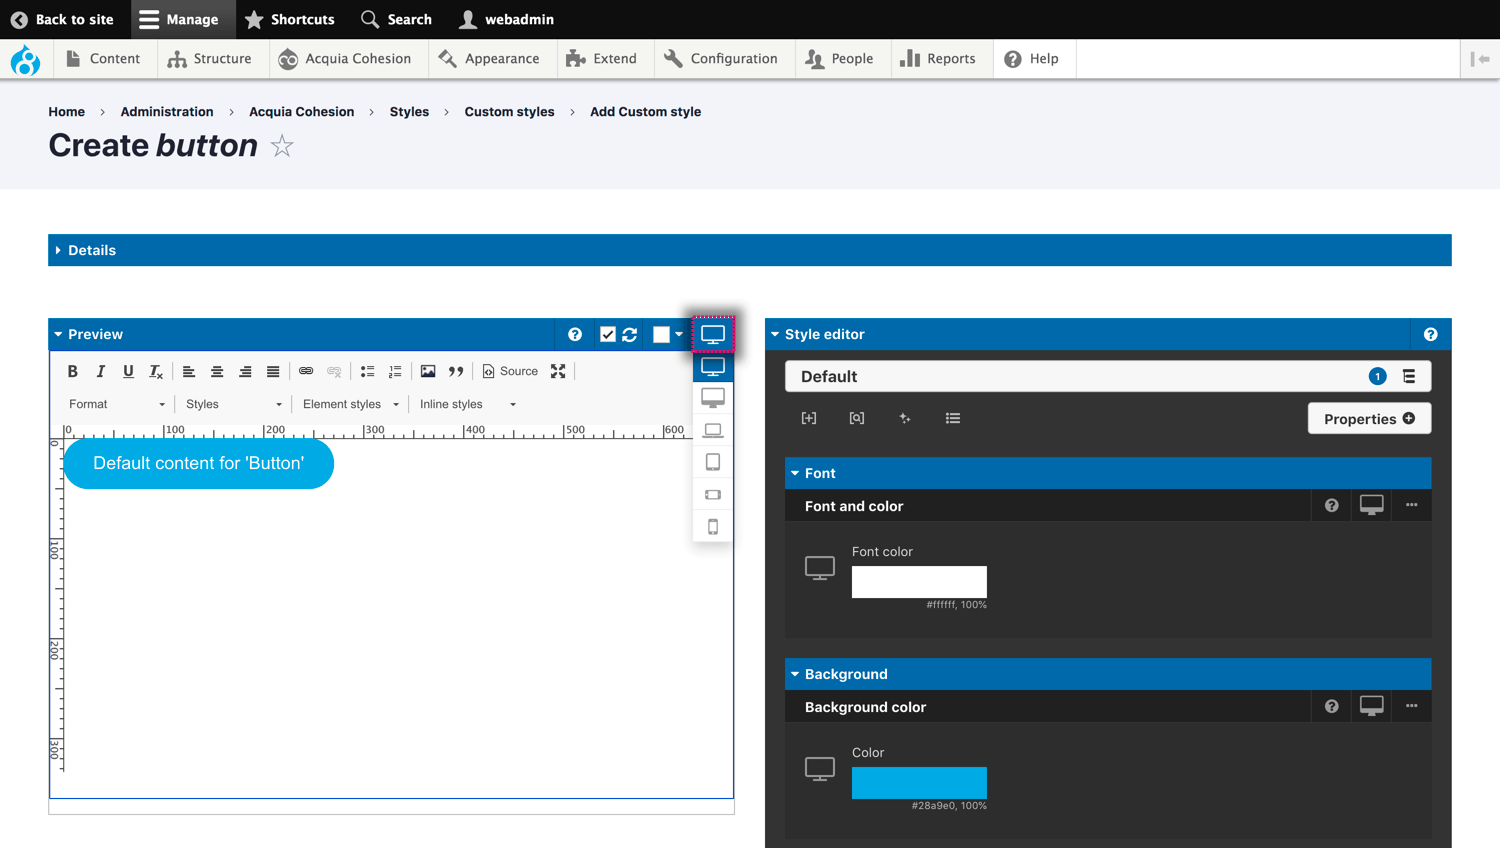
Previewing your style against a different background color
To change the background color of the preview:
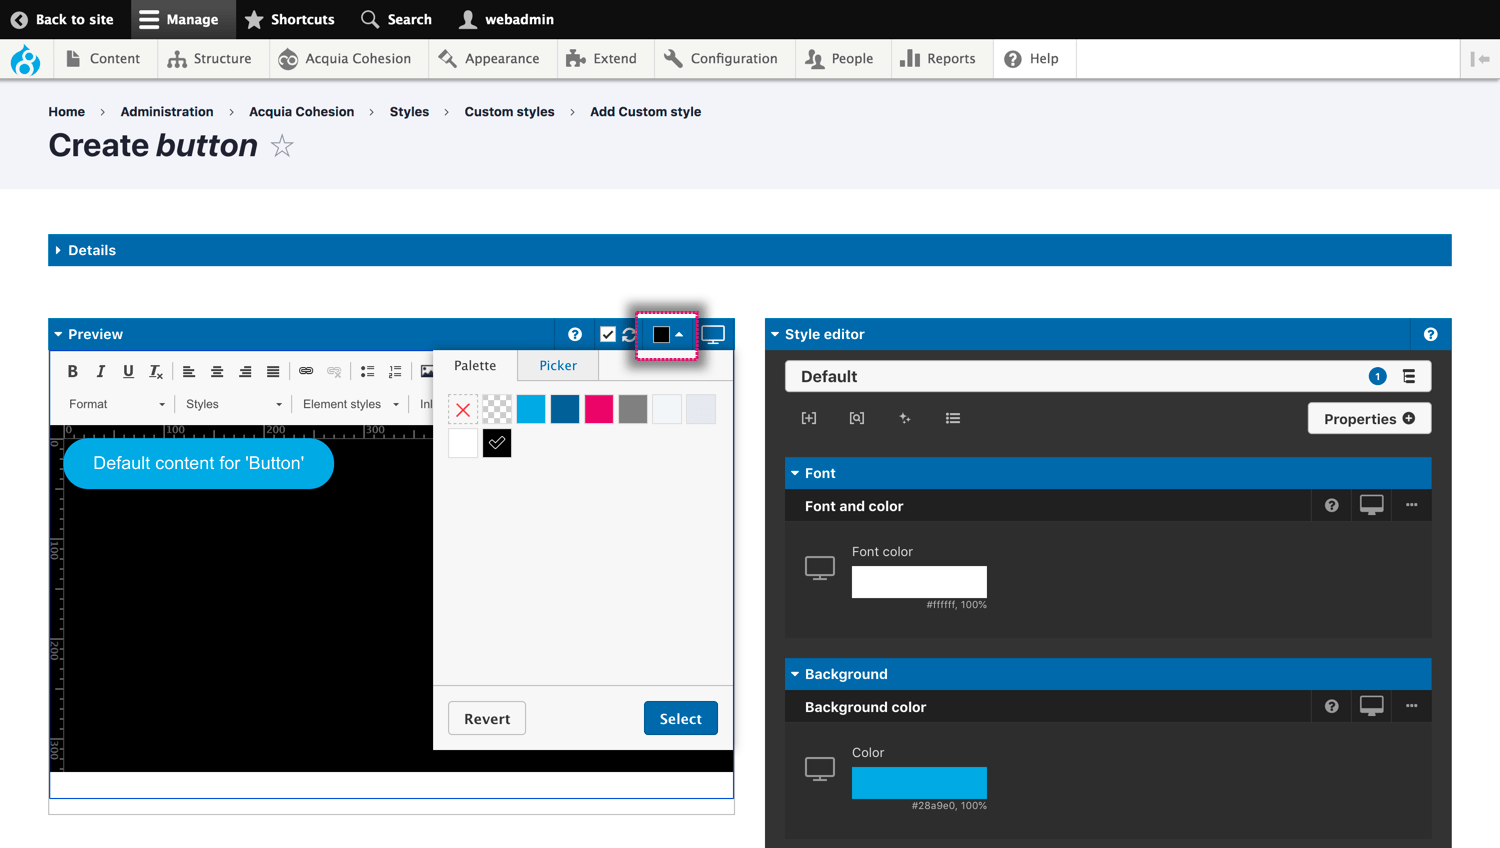
- Click the Color button and select a color from your Color palette.
- Click Select
- The background color will change. This setting will be saved with your style configuration.
