Creating your color palette
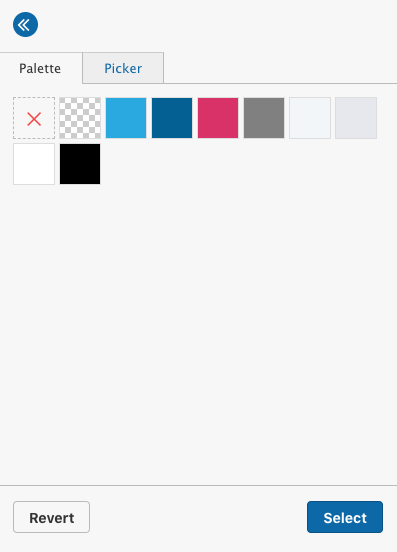
Site Studio allows you to manage colors across your website with a globally managed color palette. Colors added to the palette are made available through a color picker (shown below) when selecting a color is required.
Creating a color
To create a color in the palette:
- Navigate to Site Studio > Website settings > Color palette
- Click Add
- Enter a name in the Label field
- Click on the Color swatch to open the color picker
- Select your color using the color picker or type a hex code into the text field
- Click on the Transparency slider below the color panel to adjust the opacity of the color
- Click the Available in WYSIWYG toggle if you want to make your color available to the WYSIWYG editor
- Click Save
To add another color, click Add and repeat the steps above before clicking Save.

Changing the order of the colors
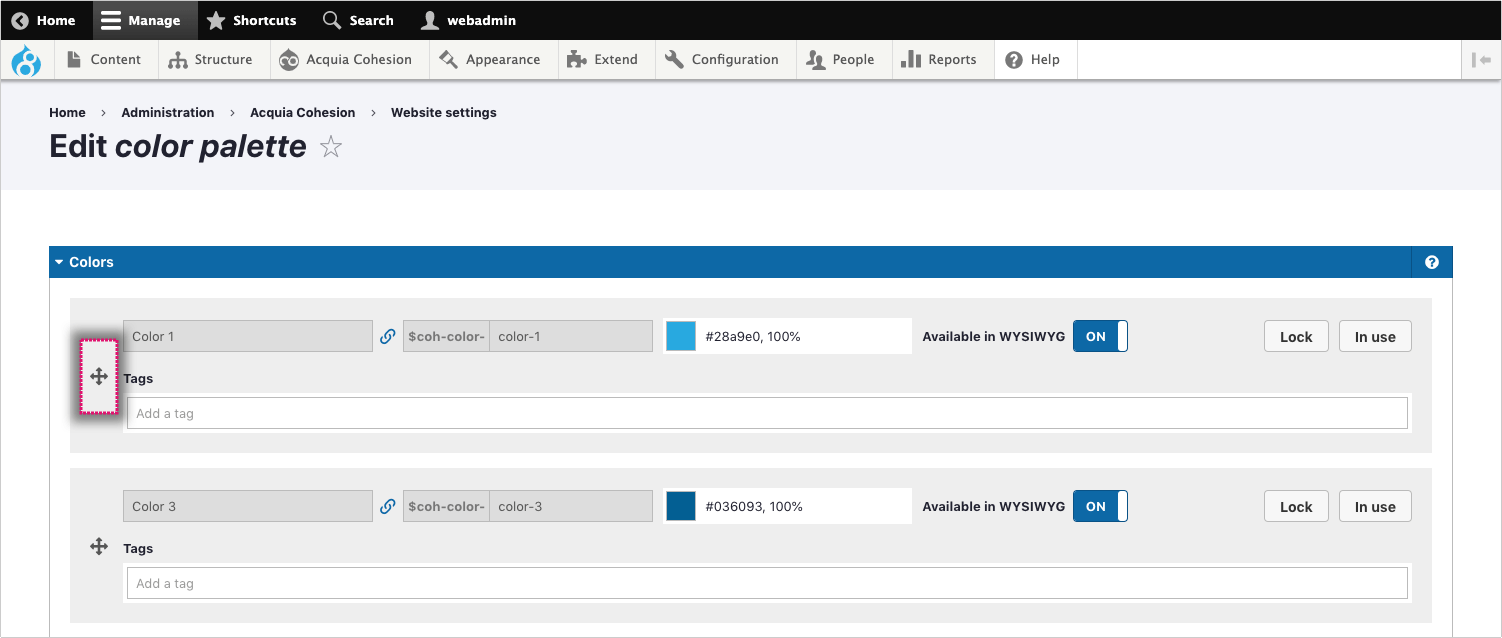
You can change the order of the colors in your palette to control how the colors are arranged in your color picker.
- Navigate to Site Studio > Website settings > Color palette
- Click and hold on the Drag handle next to the color you want to move and drag the color up or down to reposition it
- Click Save
Deleting a color
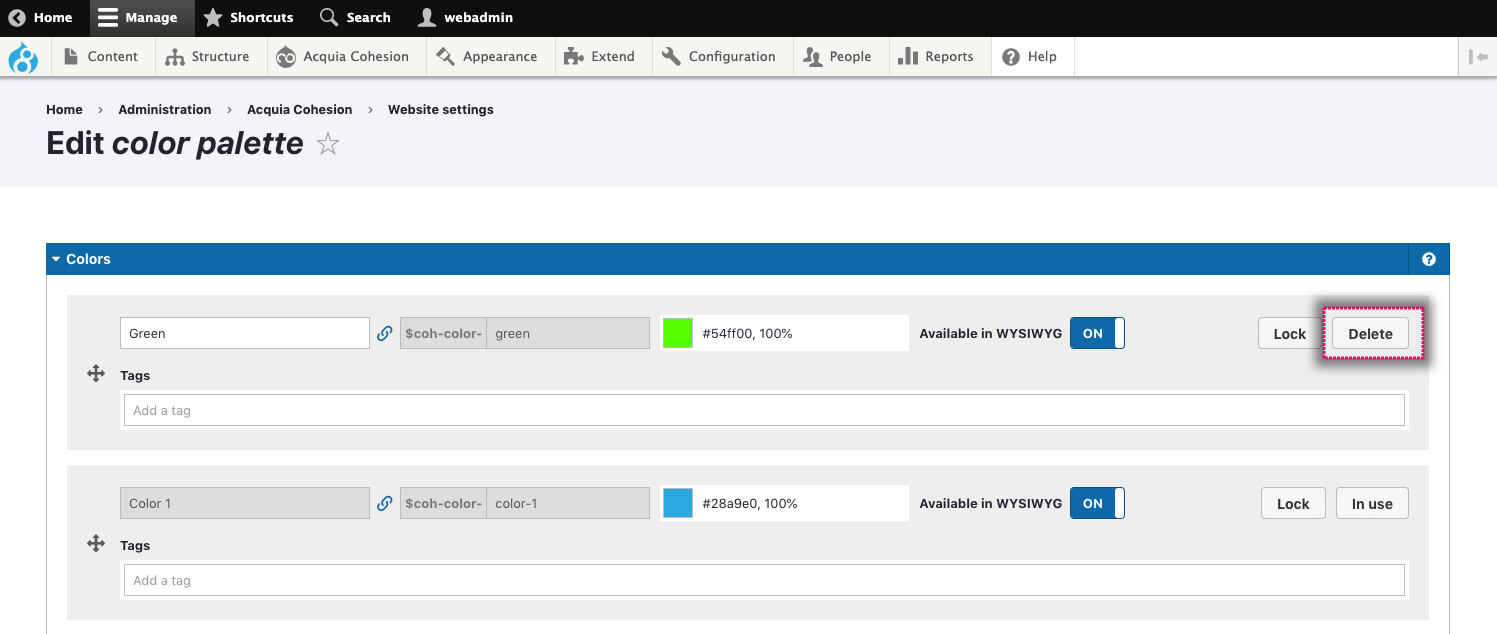
You can delete colors as long as they are not being used. To delete a color:
- Navigate to Site Studio > Website settings > Color palette
- Click the Delete button to delete a color.
Deleting a color in use
When a color has been applied to a page, style, template or anything else, it's flagged as 'In use' and cannot be deleted. Instead of a Delete button, you will see an In use button.
To delete a color in use:
- Navigate to Site Studio > Website settings > Color palette
- Click on the In use button next to the color you want to delete
- A modal will open showing a list of links to locations where the color is being used
- Navigate to each of these locations and select a different color
- When the color is no longer in use, it will be unlocked and you will see a Delete button
- Click on the Delete button to delete the color

Link/unlink color label
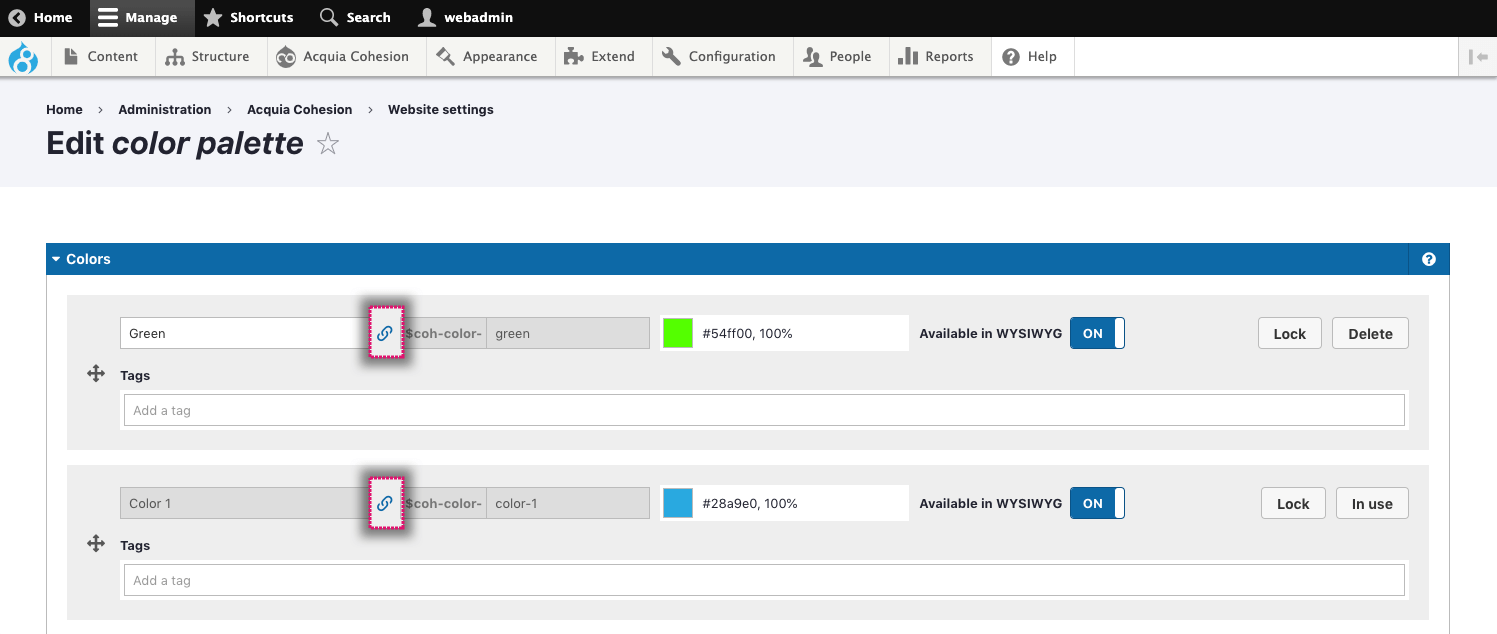
You can link or unlink the color label from the variable, this means that the label can be something different from the variable.
When adding a new color the label and variable fields are linked by default. This is shown by the link icon color being blue and the variable field is greyed out.
Note you can only change the color variable of a color that is not in-use.
To unlink a color label and variable:
- Navigate to Site Studio > Website settings > Color palette
- Click the link icon next to the label field
The variable field will turn white, if the color is not in-use - Update the color label
- Click Save.
Locking a color
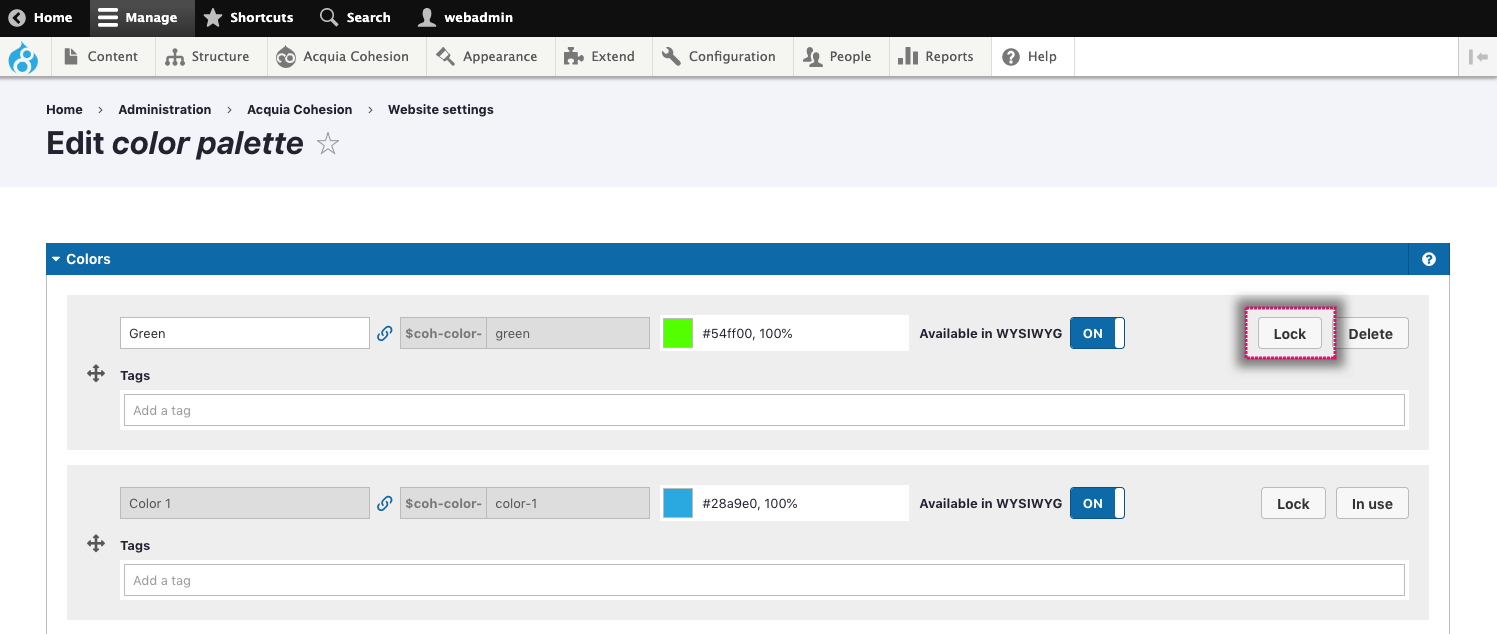
Locking a color will stop it from being overridden if changes are detected when importing using Site Studio sync.
- Navigate to Site Studio > Website settings > Color palette
- Find the color you want to lock
- Click Lock entity
Tagging colors
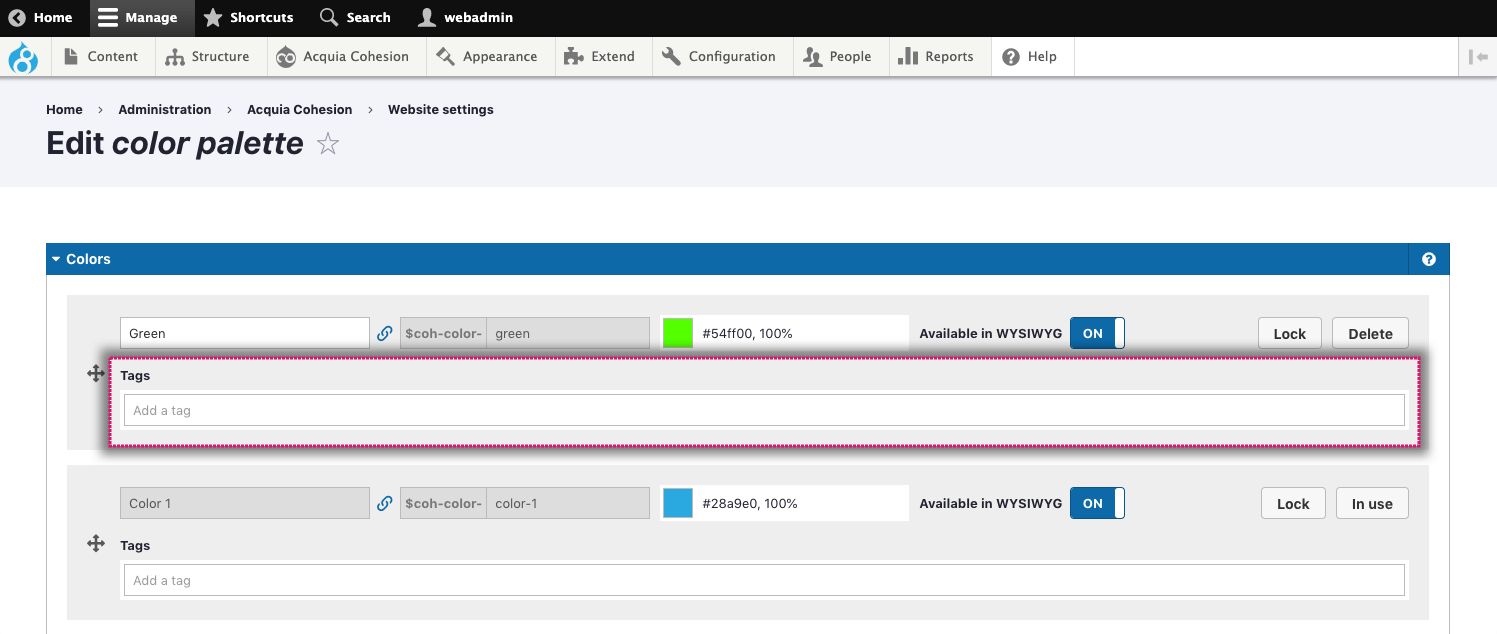
When creating or editing colors in the color palette, they can be grouped by tagging them. Tagging colors allows site builders to restrict the color picker form element to allow use of a specific tag.
To tag a color:
- Navigate to Site Studio > Website settings > Color palette
- Find the color you want to tag
- Type the name of the tag you want to create. Existing tags will appear if they match. Colors can also be tagged with multiple tags
- Once done, press return - this will then create the tag.
