Adding components to your page using the visual page builder
You can add components you your page using drag and drop or one of the other methods described below.
Using drag and drop
- Click on the Plus button in the top left of the layout canvas to open the side bar browser.

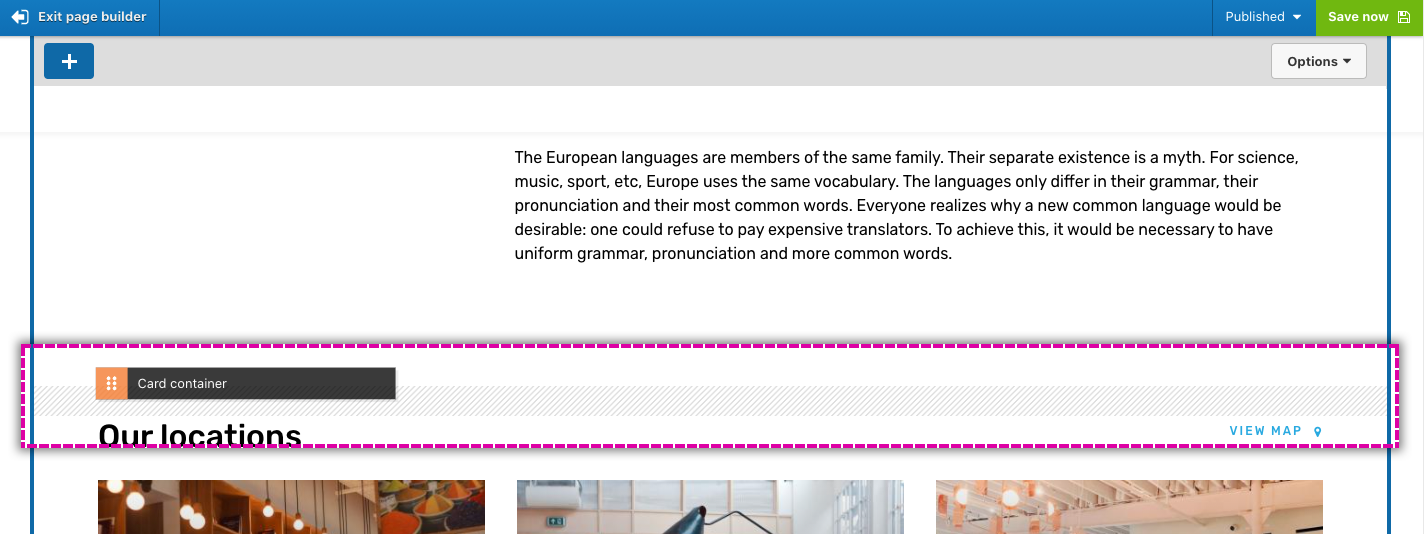
- Drag and drop a component onto the page. Once dropped, the component will be displayed.

Click to add components to the top or bottom of the page
- Click on the plus button at the top of the layout canvas to add components to the top or click on the plus button at the bottom of the layout canvas to add components to the bottom.

- Click on the small plus button on the component you want to add to the page.

Click to add components directly before or after another component
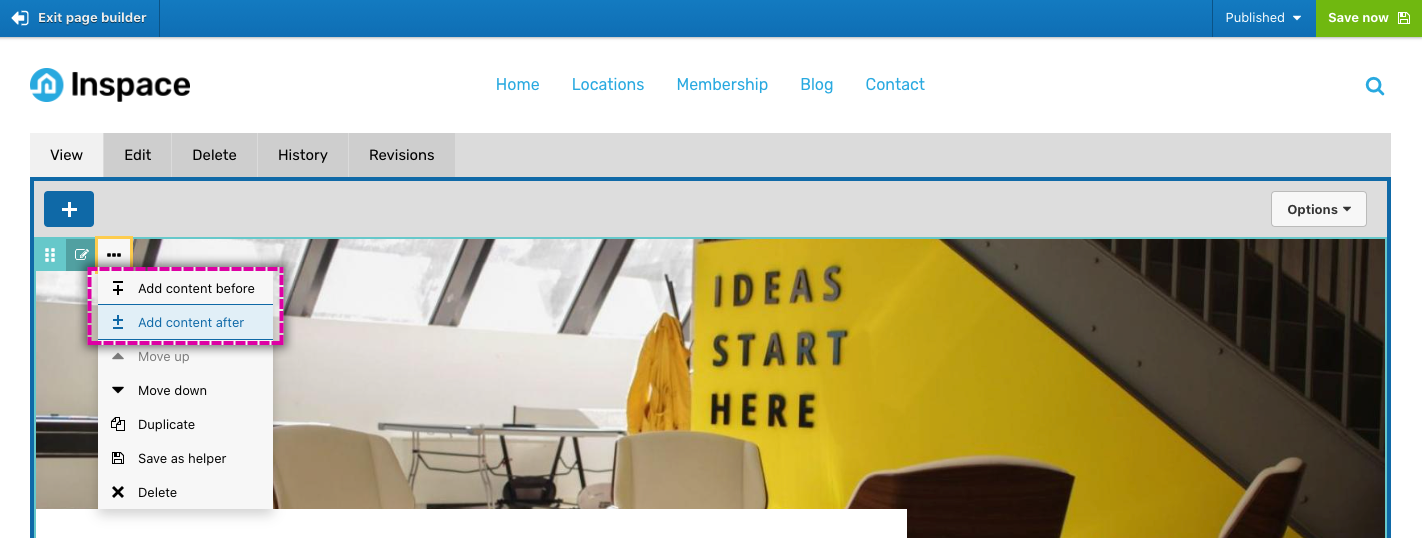
- Click on the ellipsis button on one of the components on your page to open the component menu.
- Then click Add content before or Add content after in the menu.

- Then click on the small plus button on the component you want to add to the page.

Adding components into empty drop zones
If a component includes a drop zone, a placeholder for the drop zone will be displayed on the page. To add a component into the drop zone:
- Click on the plus button in the center of the drop zone.
- Then drag a component into it.
- Once a drop zone is populated by at least one component, the drop zone placeholder disappears.

Adding components into populated drop zones
When a drop zone includes at least one component, the drop zone placeholder is removed. To add another component to the same drop zone:
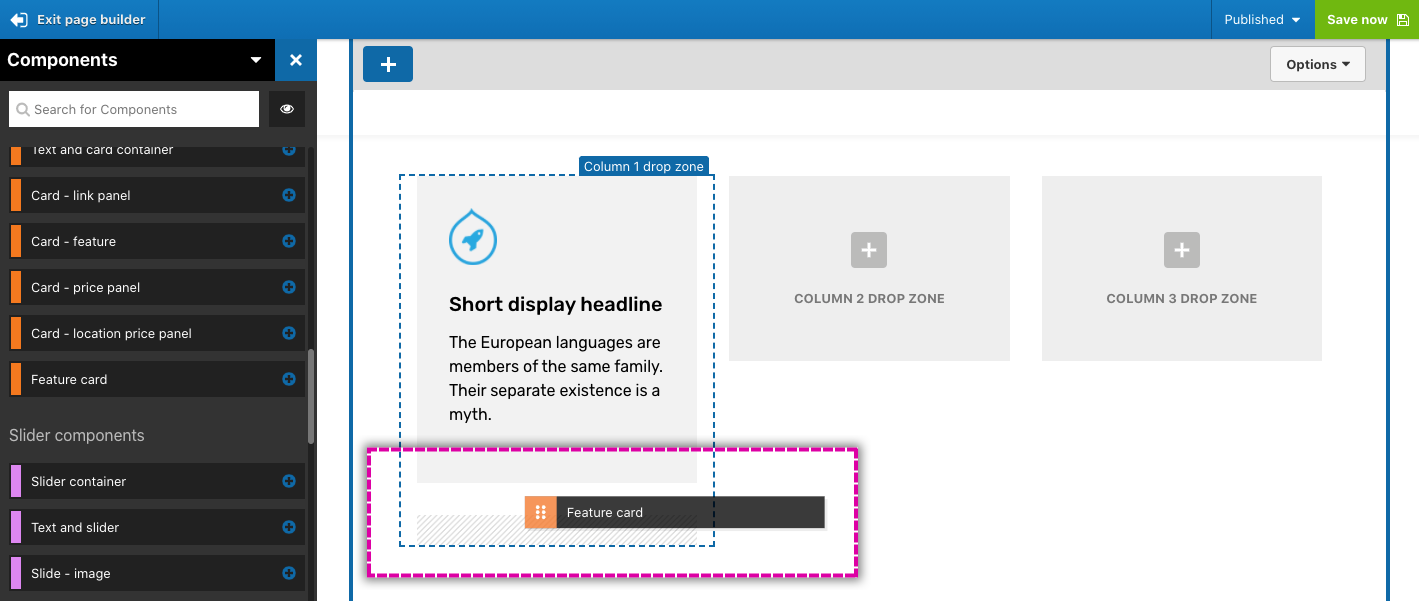
- Drag and drop a component before or after any component already in the drop zone. A visual placeholder will show you where the component will be placed.

- You can also click on the ellipsis button on a component within a drop zone and then click on Add before or Add after.
- Then click on the plus button on the component you want to insert.

Use Add before and Add after to insert components into complex devices like sliders, accordions and tabs.

