
Create a component
You can create components using the component builder. Components can include a settings form to allow for editable content, styles and other settings.
Creating a simple editable component
The following steps are an example to demonstrate how to create a very simple component with an editable field. To make a more complex Component, the same steps are used but with a more advanced layout and more form fields.
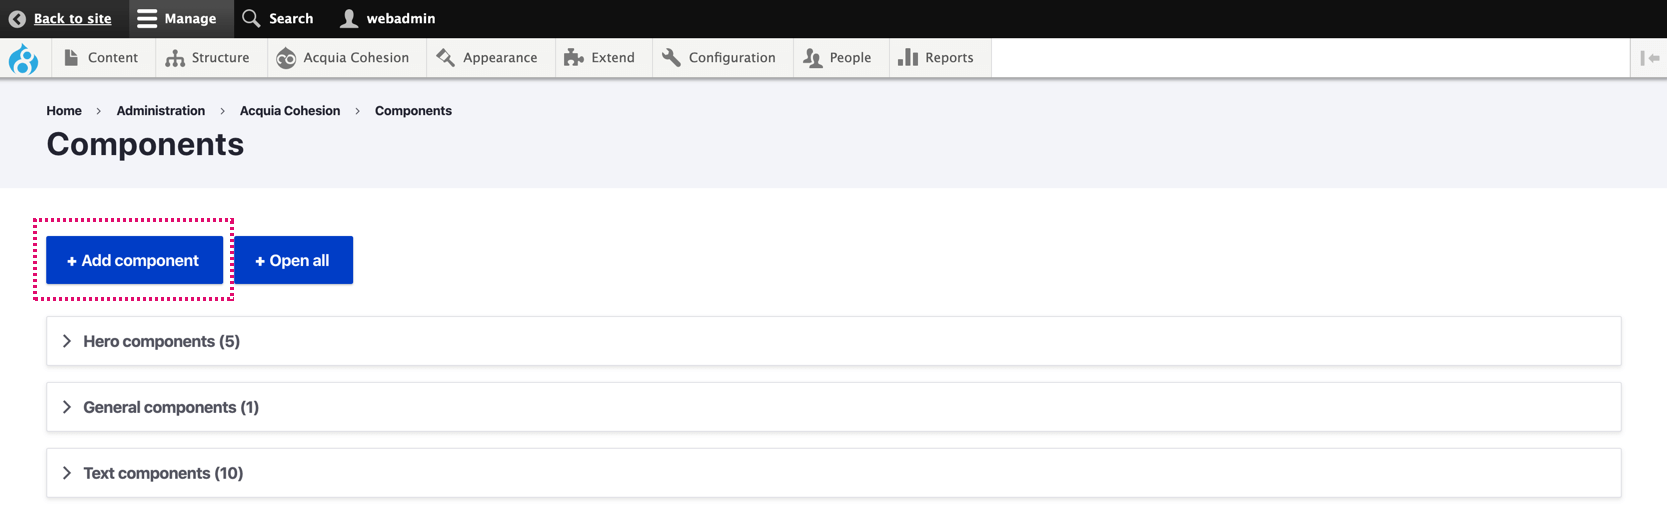
Step 1 - Create a new component
- Navigate to Site Studio > Components > Components
- Click +Add component
- On the next screen within, within the Details area, enter a name in the Title field
- Select a category in the Category field. This determines where the Component is displayed on the Sidebar browser
- Check the Enable inline editing checkbox to allow the components content to be edited directly on the website.
- Within the Availability section, leave it set to All. For more information, see Restricting where a component can be used.

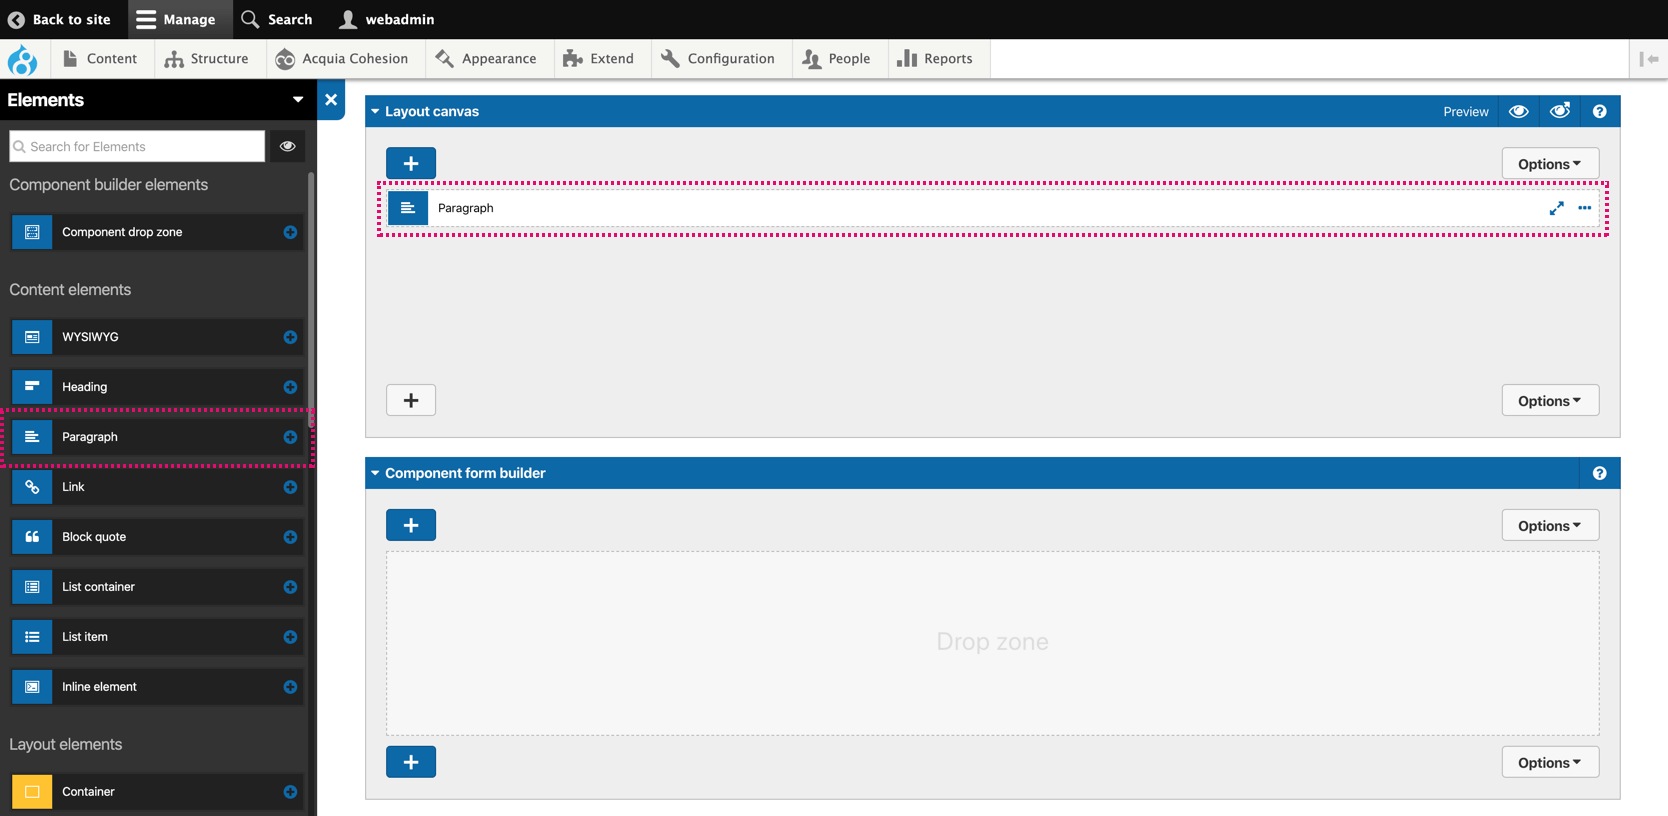
Step 2 - Create the component layout
- Click on the + plus button on the Layout canvas to open the Sidebar browser
- Drag a Paragraph element onto the Layout canvas.
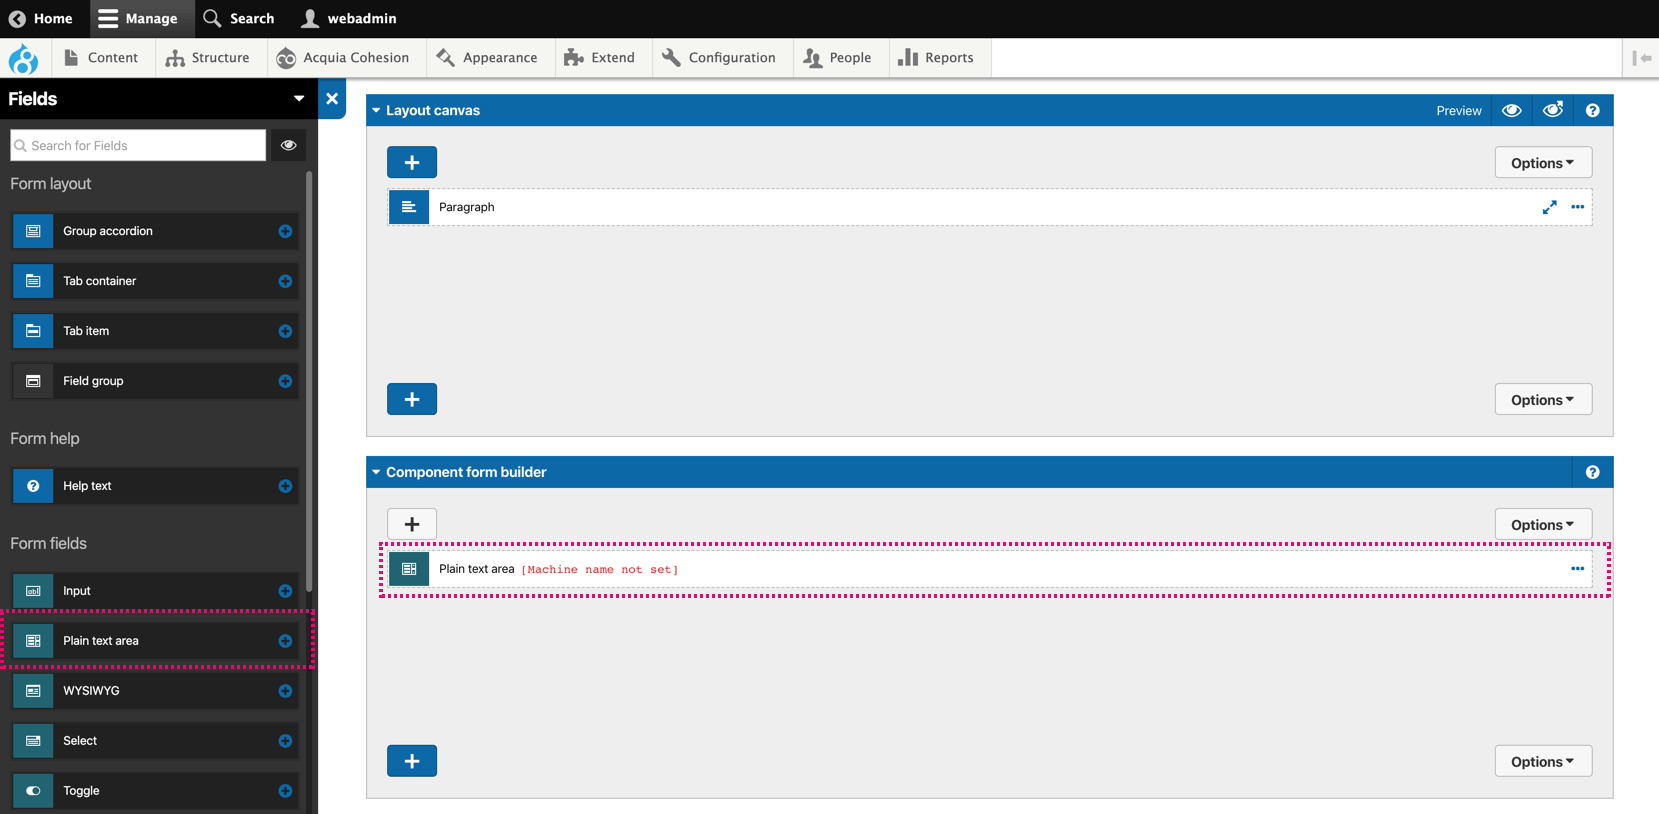
Step 3 - Create the component form
- Click on the + plus on the Component form builder to open the Sidebar browser
- You will see that the Elements within the Sidebar browser are Form elements. If not, select Fields in the menu at the top of the sidebar
- Drag a Plain text area field element onto the Component form builder
- The field will show [machine name not set].
- Double click on the Field in the component form builder to open its settings
- At the top of the field settings, you will see a field with 'Plain text area' within it. This is the default label for the field. You can change this to something more meaningful. For this example, change it to 'Paragraph text'
- When you change the label for the first time, the Machine name field below will update. You can update the machine name in the future by clicking the Edit icon on the right of the field.
- Click Apply at the bottom of the settings form

- You will now see that the Field on the Component form builder displays a machine name as a token. This is what you will use to link the field to your component elements.

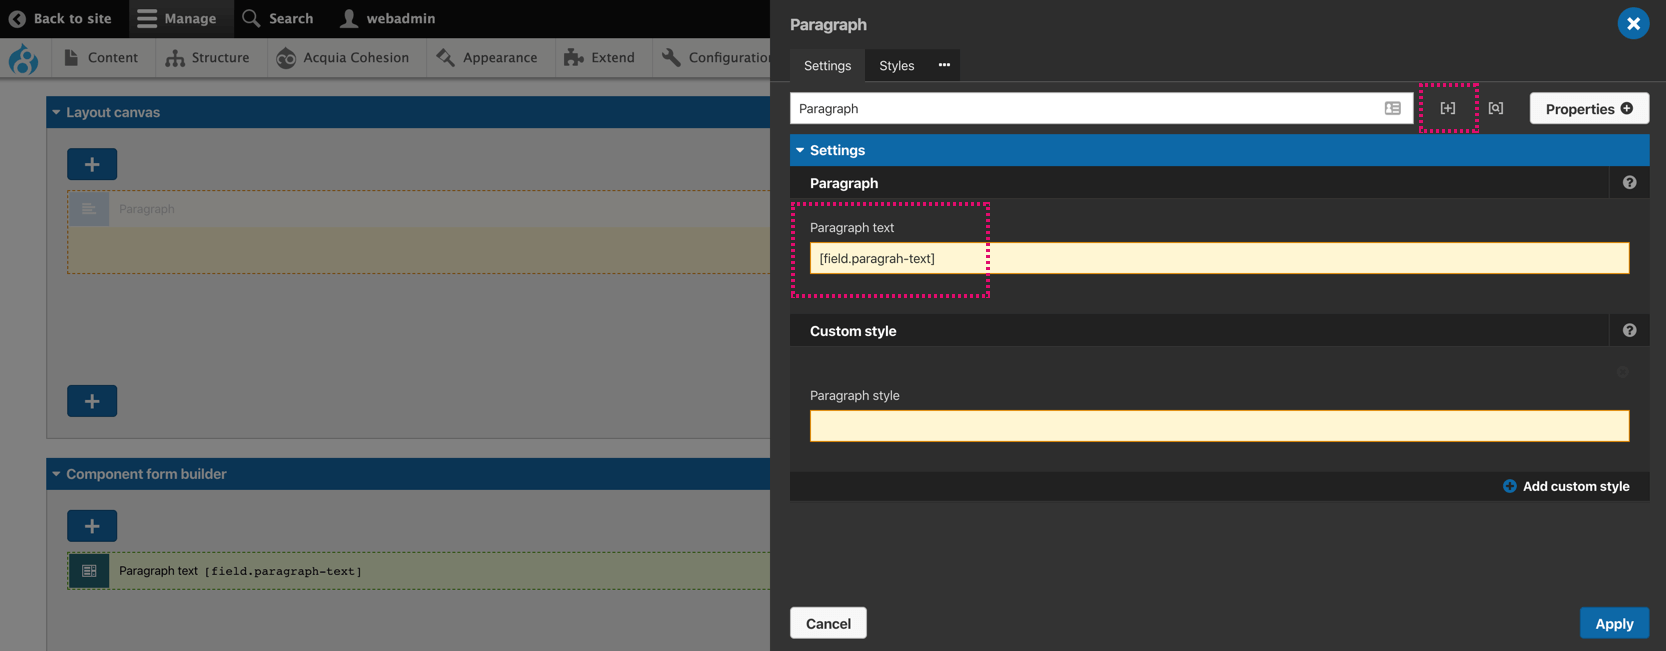
Step 4 - Link the component form to the component layout
- Double click the Paragraph element on the Layout canvas to open its settings
- Click on the + icon to switch all fields into variable mode. This allows you to enter tokens into the fields
- Enter [field.paragraph-text] (this is the machine name of your plain text area field) in the Paragraph text field. Ensure you use square brackets around the token.
- Click on the + icon to toggle out of variable mode
- All fields should turn back to their original state except for the Paragraph text field
- Click Apply
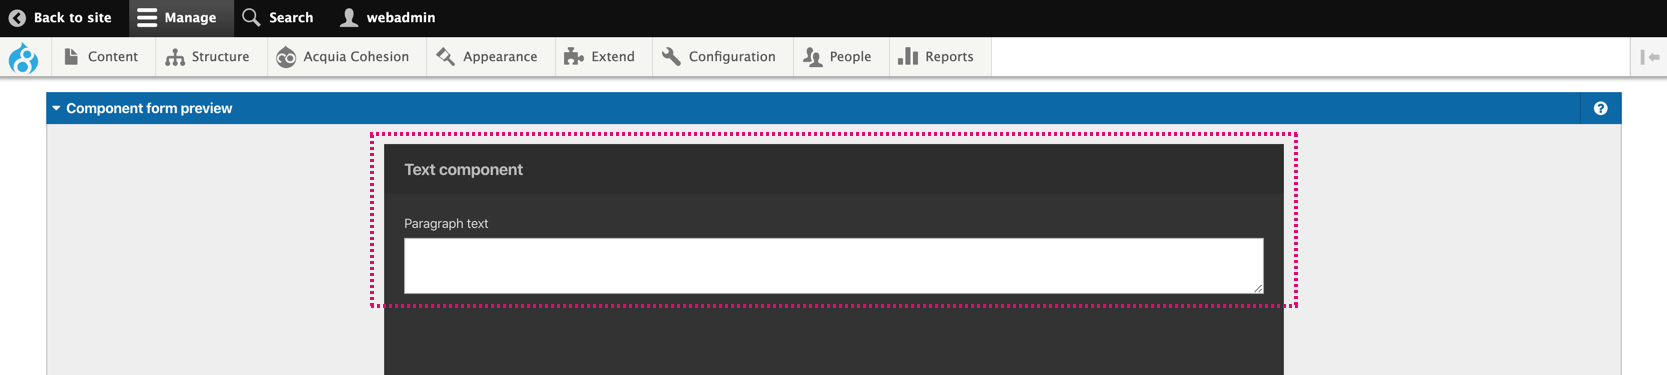
Step 5 - Preview your form and save your component
- Preview your component form in the Component form preview area
- Click Save and continue to save your new Component
Step 6 - Add your component to a page
- Navigate to and edit a page which has the Layout canvas
- Click on the +plus button to open the Sidebar browser
- Click on the Components tab
- Drag your new Component onto the Layout canvas
- Double click on the Component to edit its settings
- Add some text to the Plain text area
- Preview your page to see your Component applied.