Creating menu templates
You can create templates for Drupal menus. The steps below describe how to create a simple single level menu template and add it to a Master template. You should start by using this guide but if you require a guide to creating more complex menus, see Creating multi-level menus with interactivity.
Create a single level menu template
Step 1 - Create the menu template
- Navigate to Site Studio > Templates > Menu templates
- Click +Add menu template
- On the next screen, enter a name for your menu in the Title field.

Step 2 - Layout the menu template
Add three Menu elements in the order shown below to create your menu structure.
- Click the +plus icon on the Layout canvas to open the Sidebar browser
- Drag a Menu list container element onto the Layout canvas. This is a <ul> element.
- Drag a Menu list item element into the Menu list container on the Layout canvas. This is an <li> element
- Drag a Menu link element into the Menu list item on the Layout canvas. This is an <a> element.
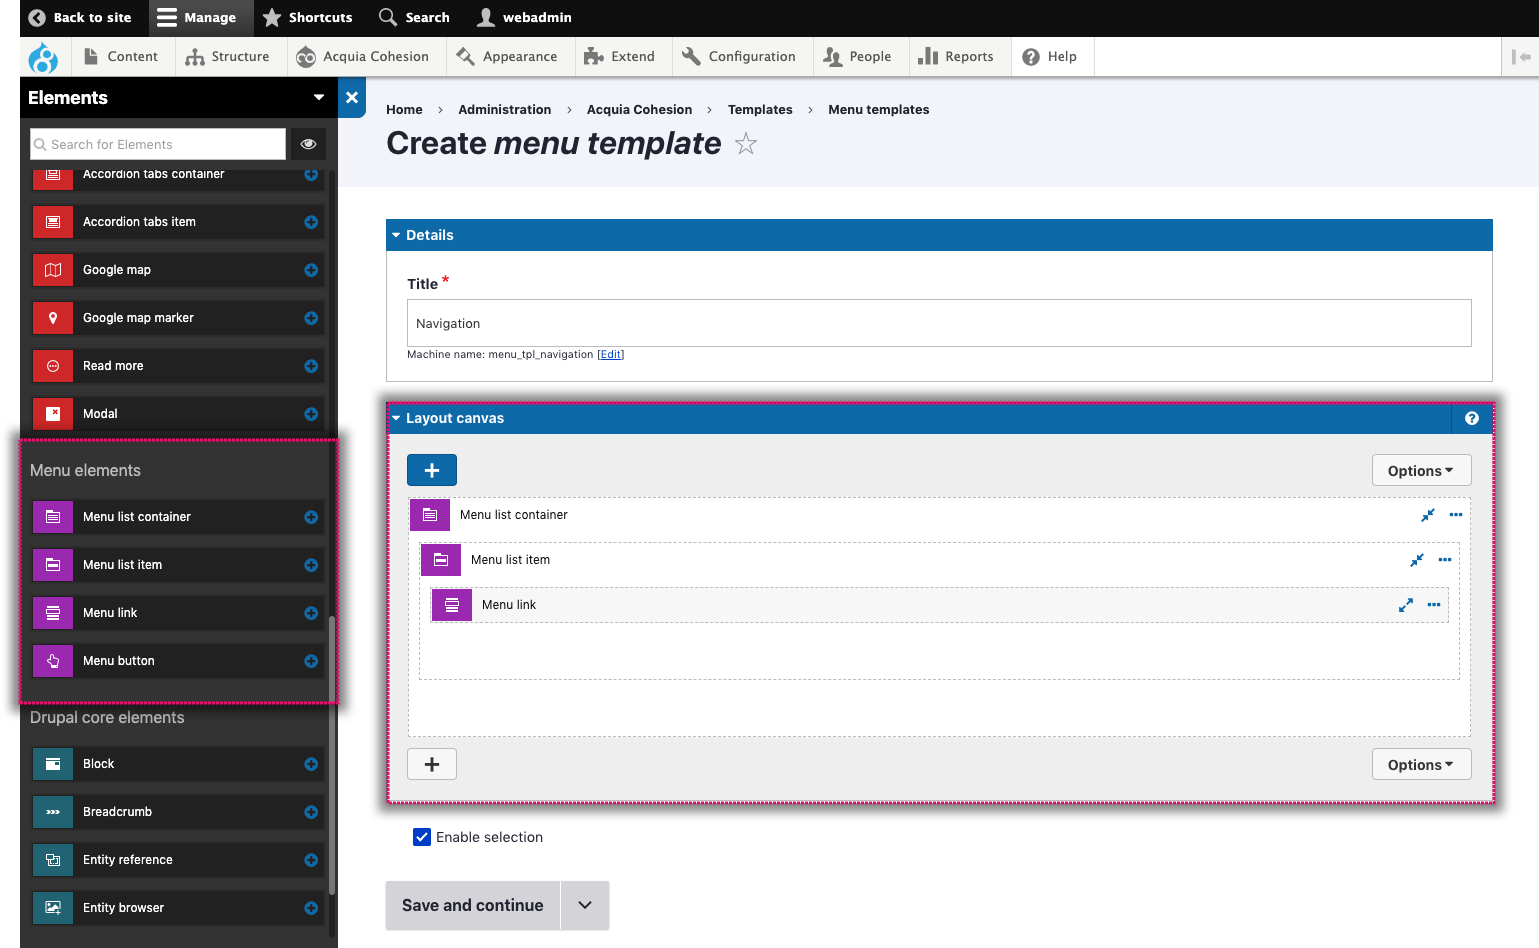
Step 3 - Configure the Menu list container element
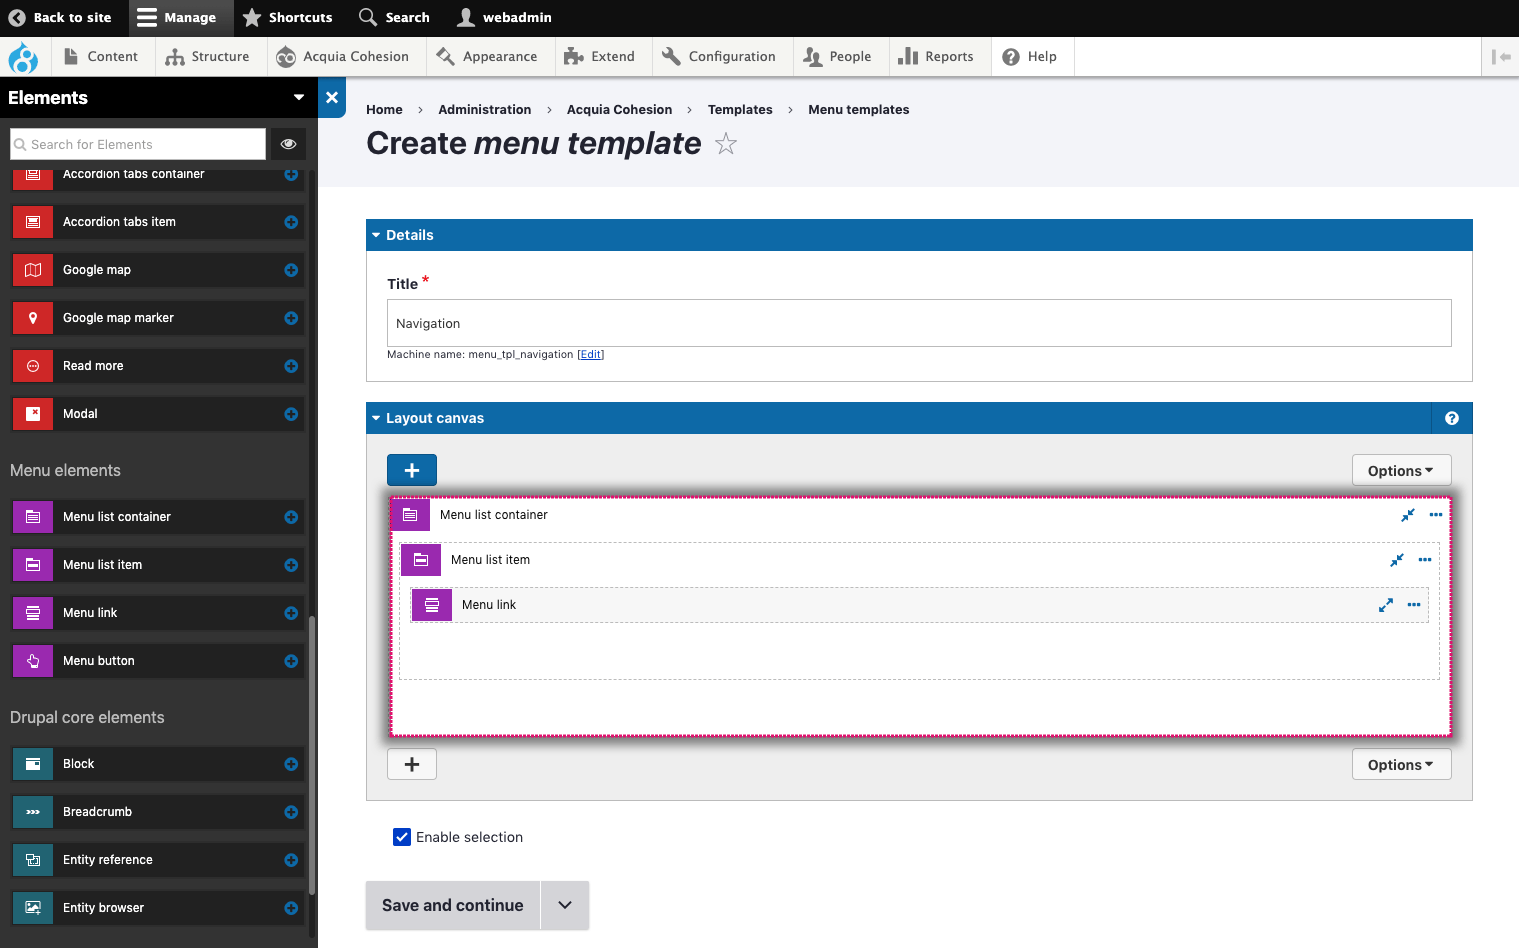
- Double click on the List container element to edit its settings
- Within the List container element you can select a List style for your menu. For this example, leave this set to None and your menu will use your Base unordered list style. For more information, see Creating styles for menus
- Click Apply.
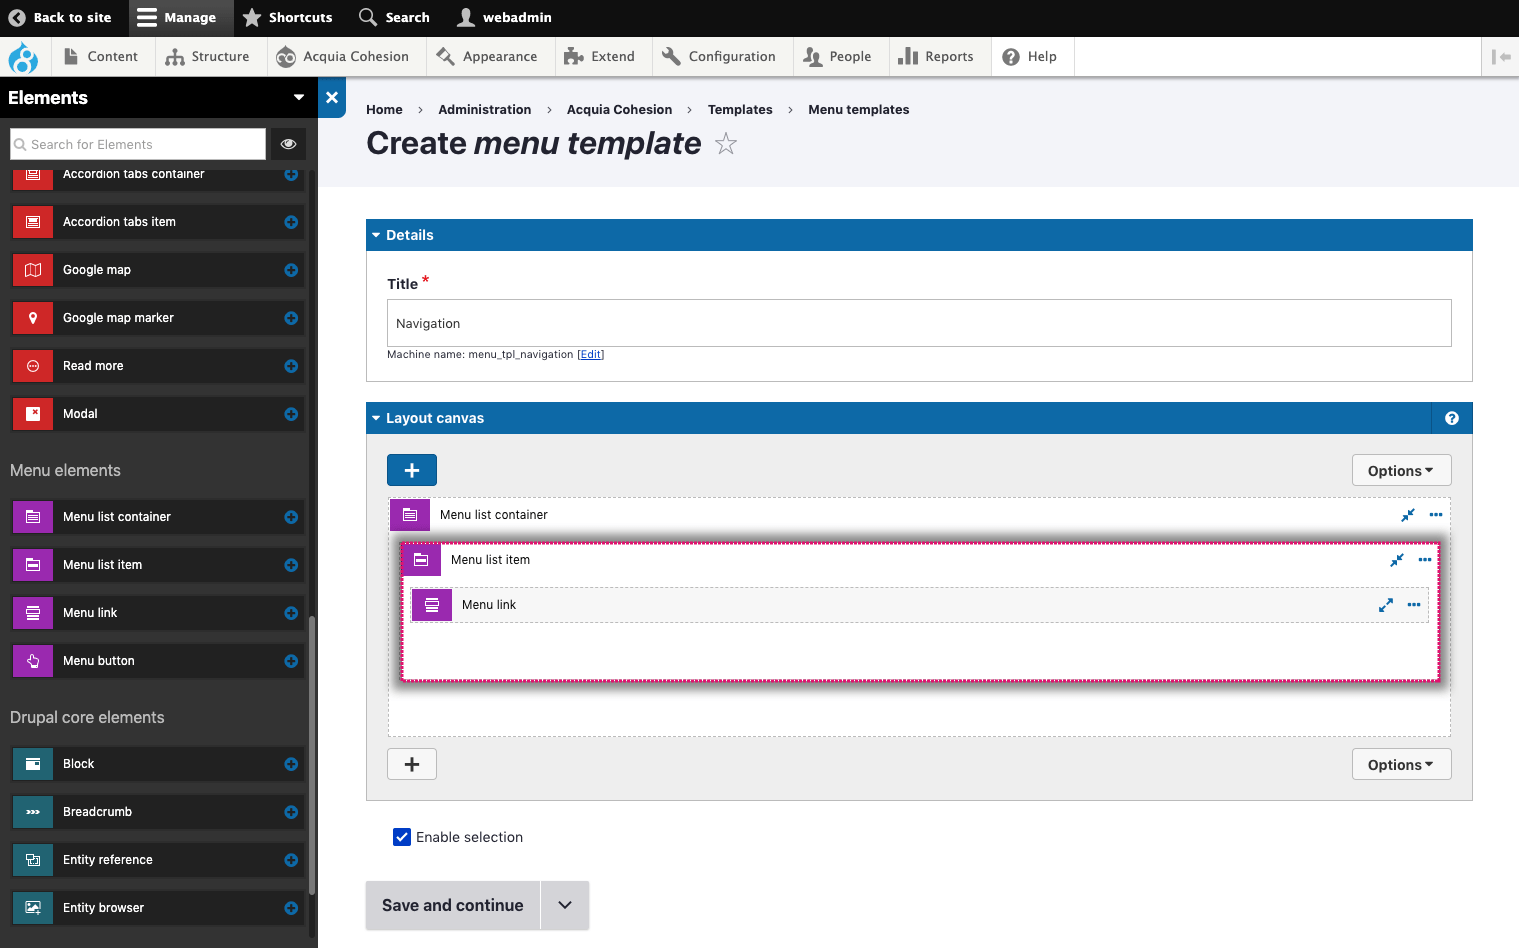
Step 4 - Configure the Menu list item element
- Double click on the List item element to edit it's settings
- In the Child list visibility, select Initially visible
- Click Apply.
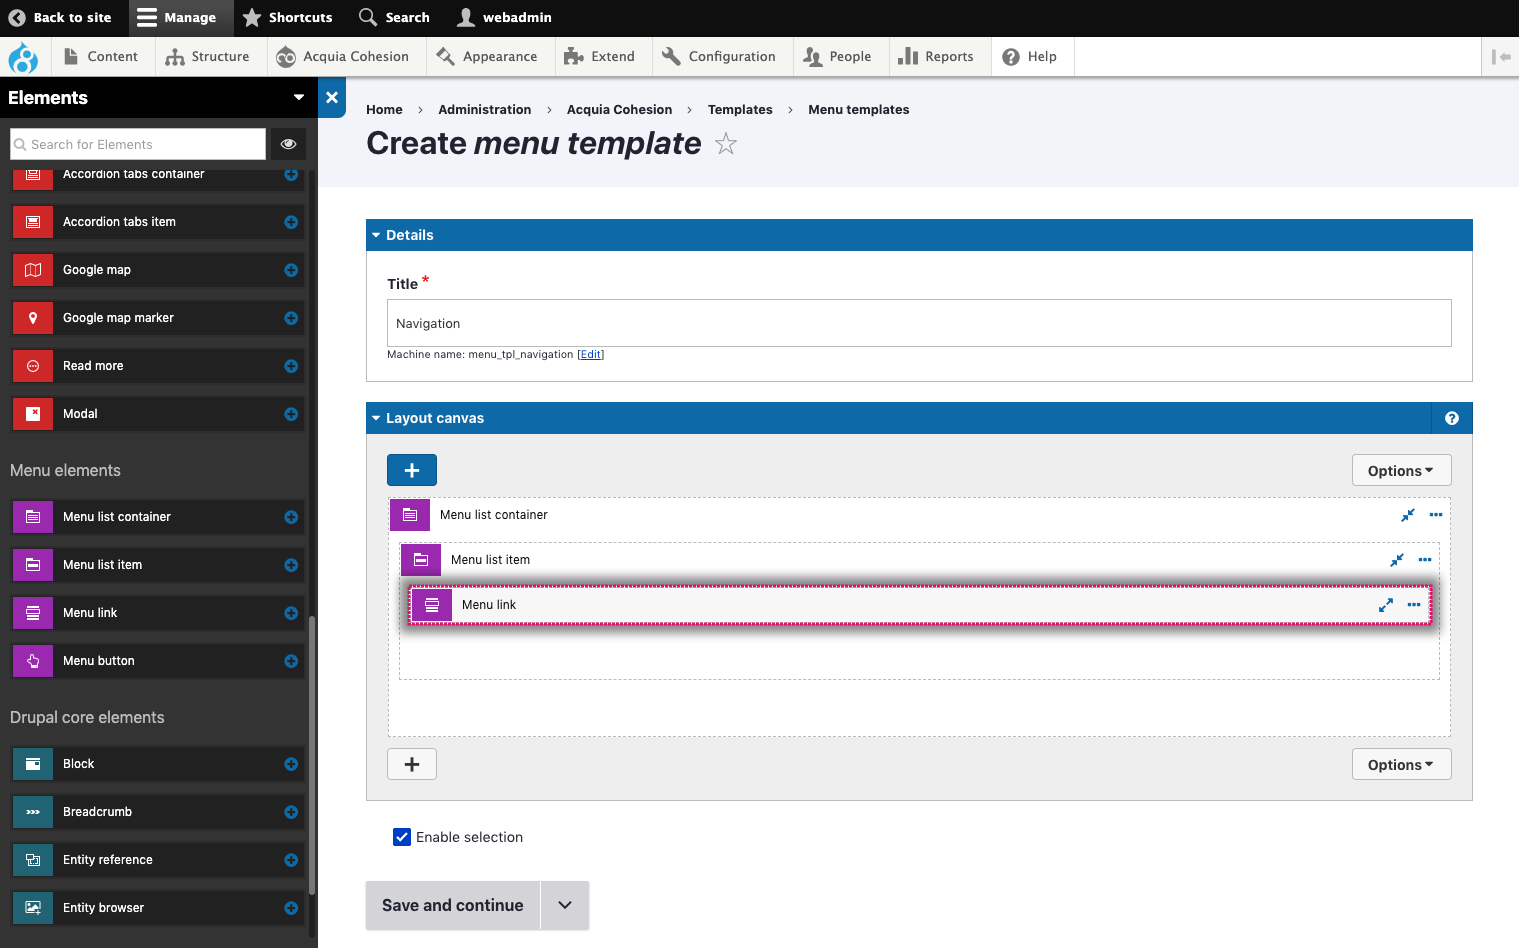
Step 5 - Configure the Menu link element
- Double click on the Menu link element to edit it's settings
- Within the Interaction field, select Click through to link
- Click Apply.
Add a menu to a template
These steps assume that you have already created a Master template. It also assumes that you have created a Drupal menu to use on your website. If not, you should create these before continuing with the following steps.
Step 1 - Add the Menu element to a Master template
- Navigate to Site Studio > Templates > Master template
- Select a Master template and click Edit
- On the next screen, click on the +plus icon to open the Sidebar browser
- Drag the Menu element into your Template. Place it at the top of your template so it's obvious where the menu is going to display.
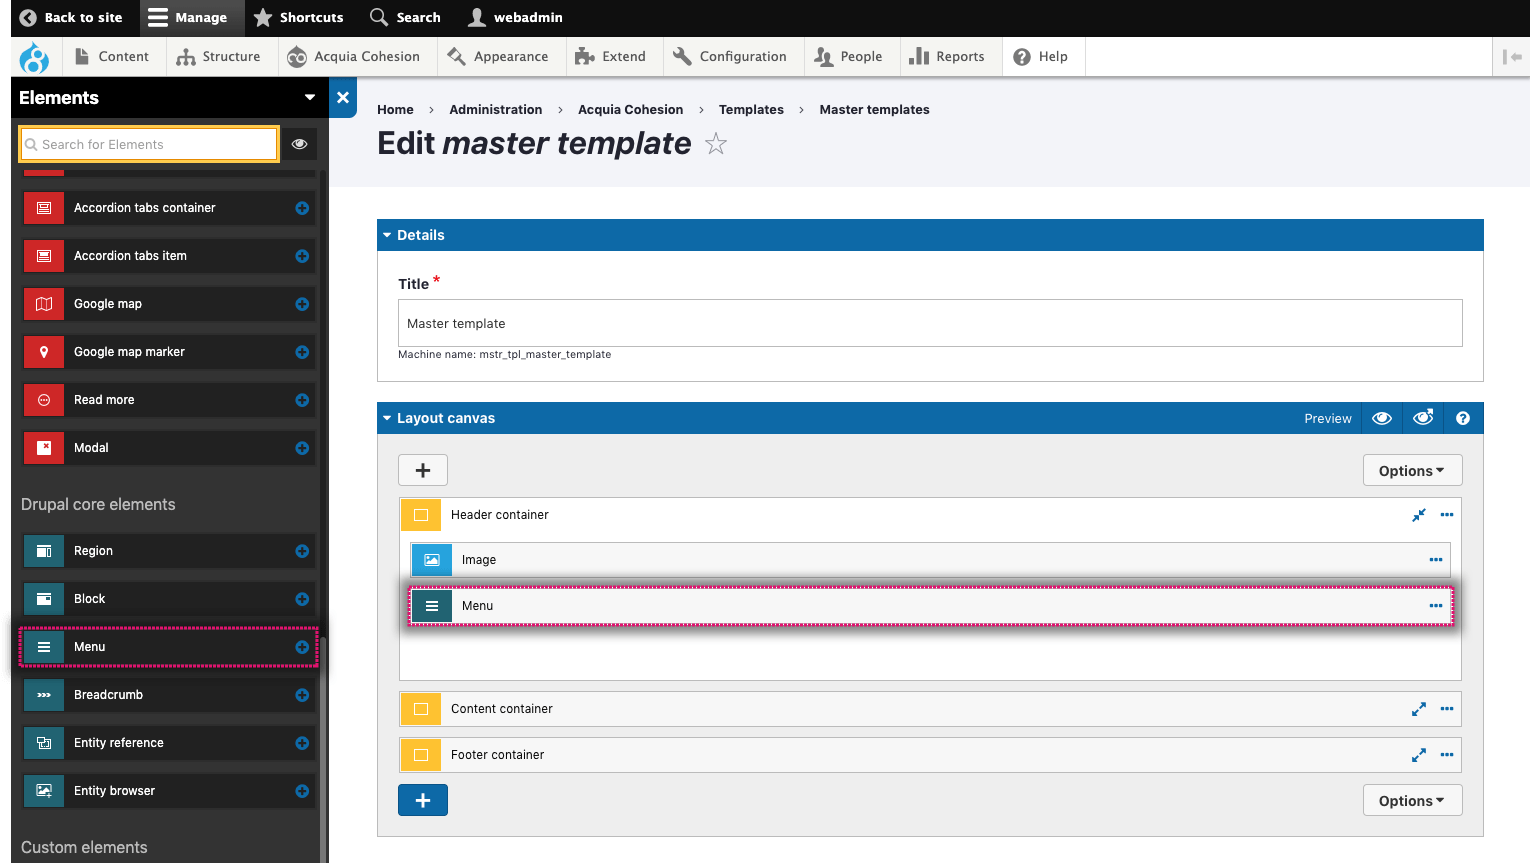
Step 2 - Configure the Menu element
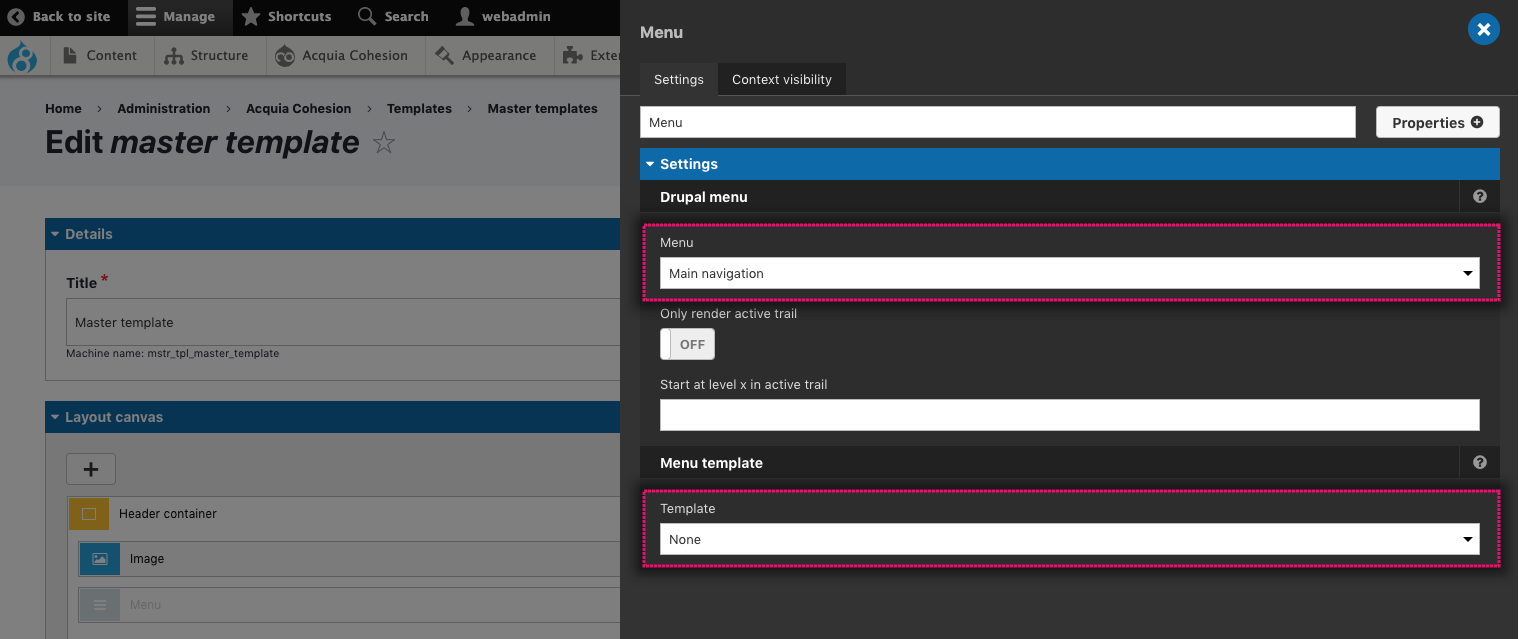
- Double click on the Menu element to configure its settings
- Within the Menu field, select your Drupal menu
- Within the Template field, select your menu template
- Click Apply.
Step 3 - Save your template and view a page
- Click Save and continue at the bottom of your template
- Navigate to a page which uses the template
- If you have followed the steps above correctly you will see your menu at the top of your page.

