Quick start with helpers
To help you get started quickly, the UIKit includes a selection of 'Helpers' that combine the components into common website sections. Use these helpers to create pages quickly or just to discover how layouts can be created by combining components. View the Helpers included.
Follow these steps to use Helpers to create a page.
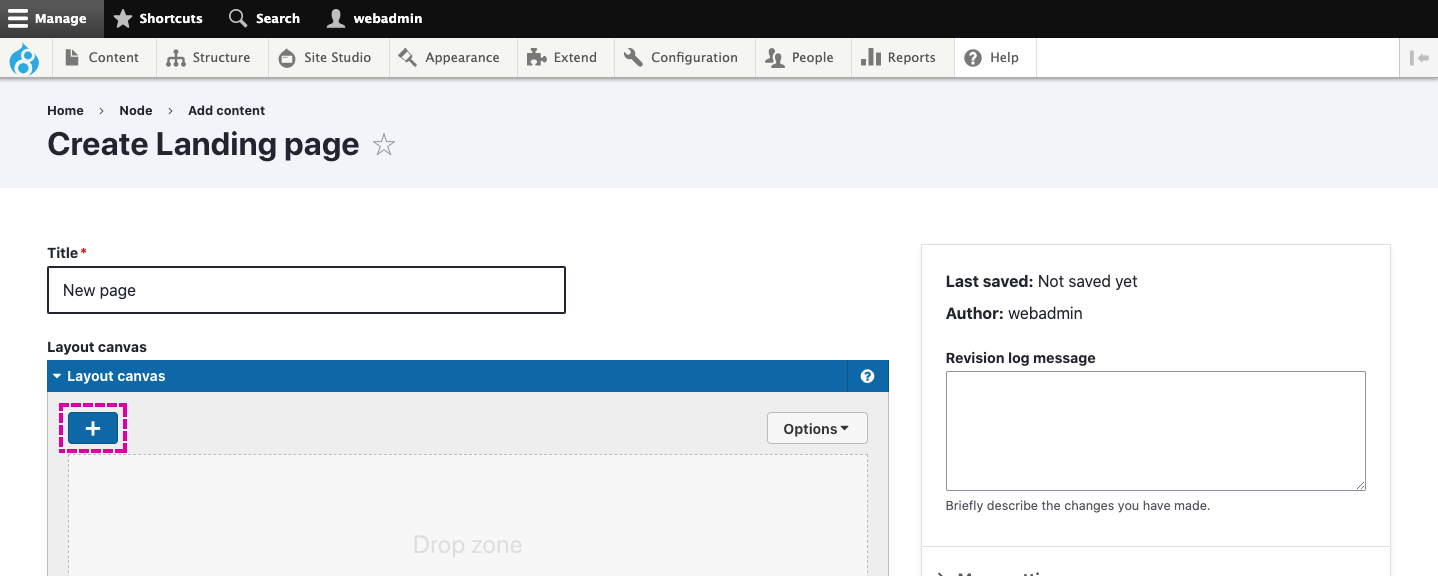
- Add a new page to your website using a content type that includes the Layout canvas and give it a title.
- Locate the Layout canvas and click the blue ‘+’ button to open the sidebar browser.

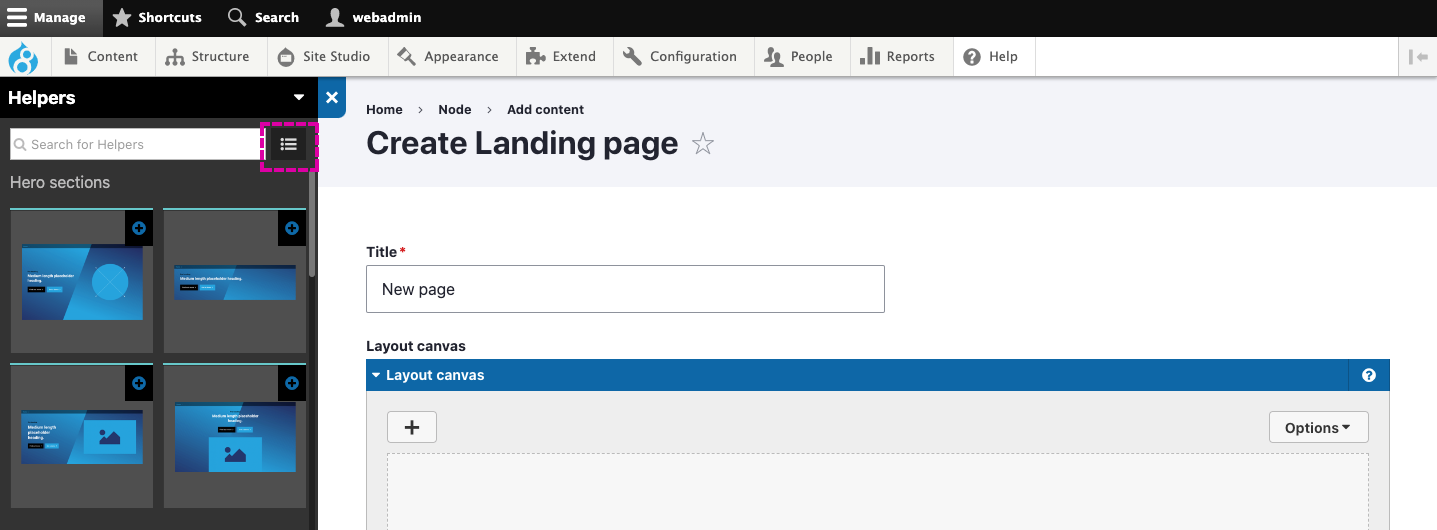
- By default, the sidebar will display a menu of components. To access the Helpers, open the menu at the top of the sidebar and select Helpers.

- To switch to a visual thumbnail view click the ‘Eye' button at the top of the sidebar.

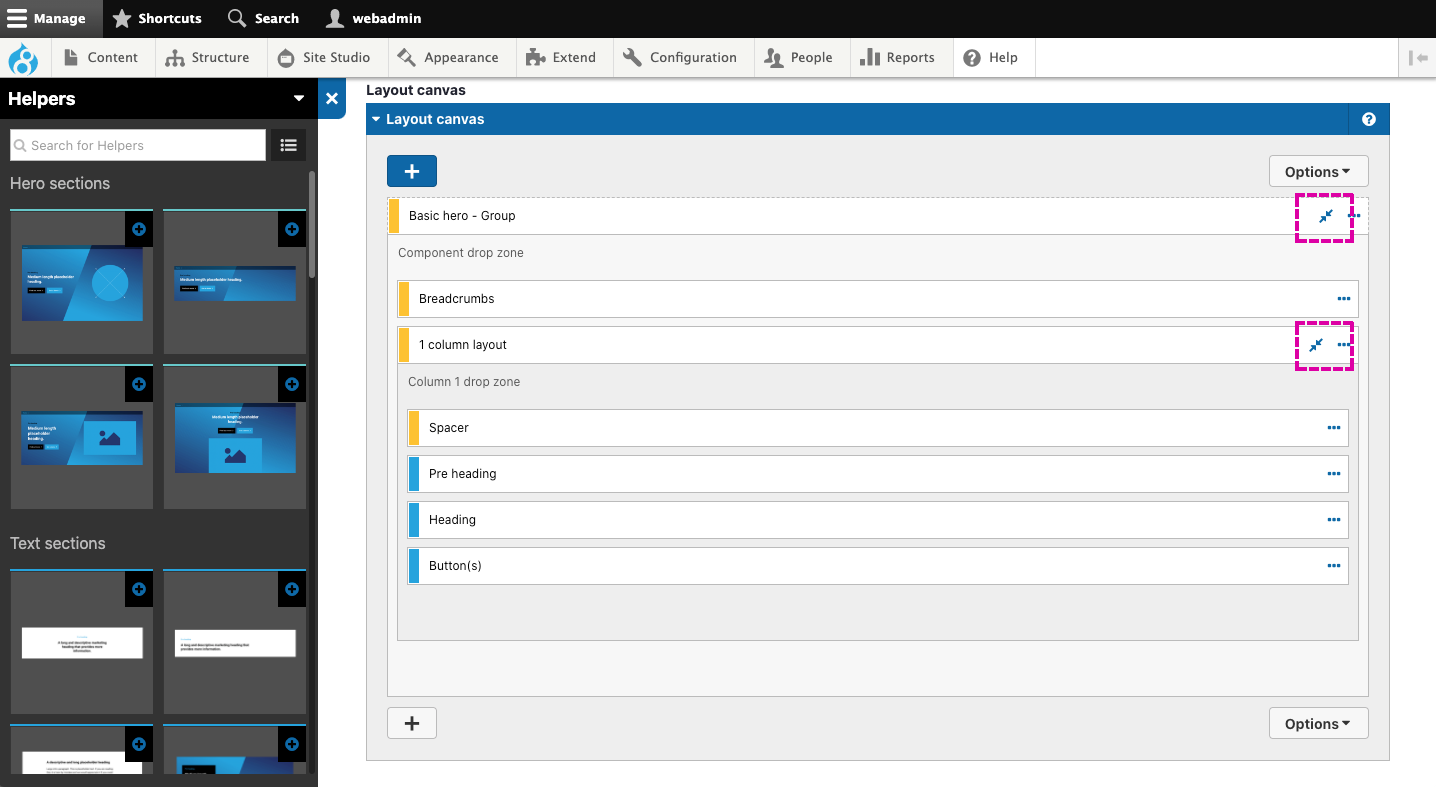
- Drag a Helper onto the Layout canvas. For example, drag the Basic hero onto the Layout canvas.
- When placed, the Helper will turn into the components it's made from. By default, the Helper will be closed. To see the components that make up the Helper, click the Expand buttons.

- To edit the content, double click on the component you want to edit to open its settings. Alternatively, save your page and edit the components directly from the website. Click the Edit button in the menu bar and then click the blue pencil buttons on each component.
When you add some Helper sections, they will include padding on the top or the bottom that creates additional unwanted space. To remove this padding, open the outer Layout container of the section and select the required padding within the Padding top and bottom field.

