Creating a Drupal view component with configurable filters
In this guide:
- Introduction and before you get started
- Create custom element
- Enable custom element module
- Create component
Introduction
Using Site Studio you can easily create a component that includes a Drupal view block. This allows page builders to quickly and easily drag and drop a view onto a layout.
But what if you want to provide configurable filters within your component so that the view only displays specific content?
This tutorial walks through creating a custom element which will allow you to render a view with contextual filters and expose them to the component form as configurable options.

Before you get started
You first need to have a few things setup which are required to follow this tutorial.
- Acquia Site Studio installed and configured
- Taxonomy vocabulary setup with a few terms
- Content type setup with a reference field to the above taxonomy vocabulary
- Some content of the above content type setup with a taxonomy term selected
- Have a Drupal view configured which lists your content type, with a contextual filter of the field which references terms in your vocabulary.
Create custom element
Setup
First follow this user guide to create a custom element.
Define your fields
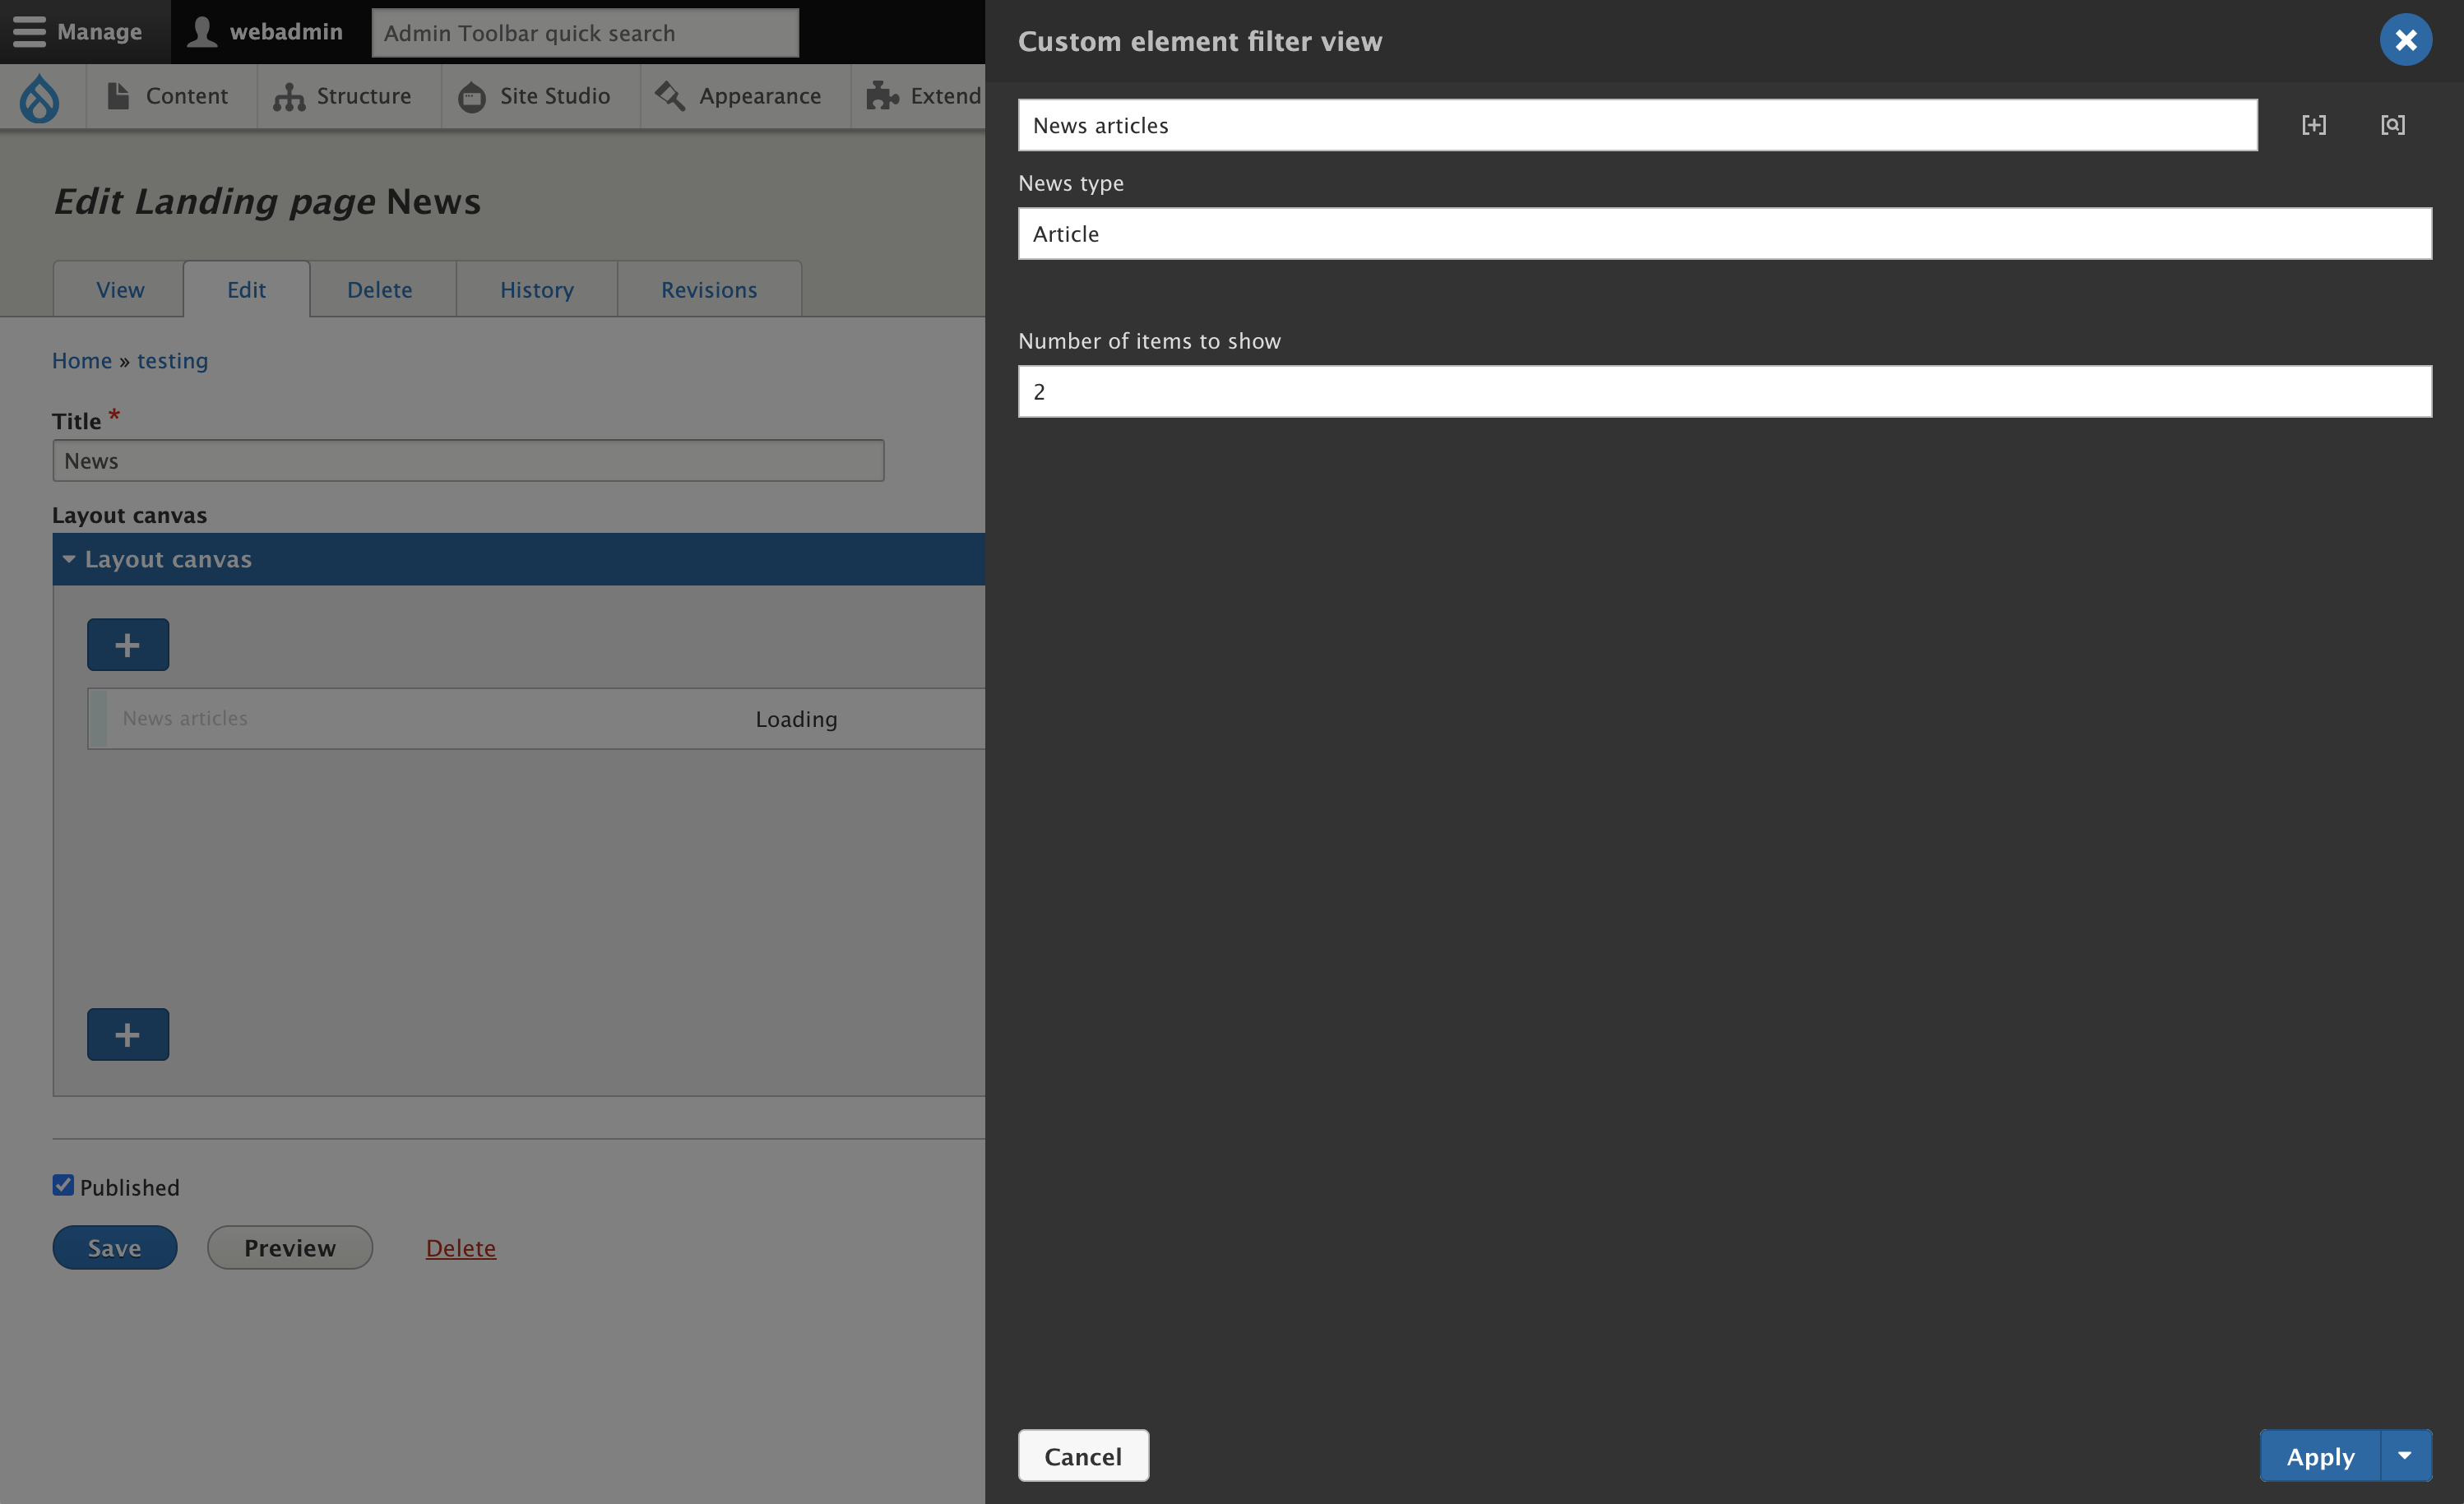
In the custom element plugin, within the get fields function, you first need to define a field to hold the taxonomy term ID, this can be a type of text field. In the example we have named the field “News type”.
You can also define other configurable options to pass to the view such as number of items to display per page, as shown below.
public function getFields() {
 return [
   'news_type' => [
     'title' => 'News Type',
     'type' => 'textfield',
     'required' => TRUE,
     'validationMessage' => 'This field is required.',
   ],
   'number_per_page' => [
     'title' => 'Number items per page',
     'type' => 'textfield',
     'required' => TRUE,
     'validationMessage' => 'This field is required.',
   ],
 ];
}
Rendering the view
Next in the custom element plugin, update the render function to something like the below code example:
public function render($element_settings, $element_markup, $element_class, $element_context = []) {
   $view_name = news; // change as needed
   $display = news_by_type; // change as needed

   $view = Views::getView($view_name);
   $view->setDisplay($display);
    // Get the tid that was passed from the entity browser and pass it as a views argument.
    $uuid = $element_settings['news_type']['entity']['#entityId'];
    $entity = \Drupal::service('entity.repository')->loadEntityByUuid('taxonomy_term', $uuid);
    $id = $entity->id();
    $view->setArguments([$id]);
   // Get the number of pages that was passed from the field and pass it as a views argument.
   $view->setItemsPerPage($element_settings['number_per_page']);
   $view->preExecute();

   // Render the element.
   return [
      // update "filterable_block" to your module machine name
     '#theme' => 'filterable_block_template',
     '#elementSettings' => $element_settings,
     '#elementMarkup' => $element_markup,
     '#elementClass' => $element_class,
     '#filteredData' => $view->buildRenderable(),
   ];
 }
In the above example you would need to update the view_name variable to the machine name of the view you want to render and the same for the display.
Next in your .module file make sure to add the filteredData variable in the return array above to your hook_theme variables.
function filterable_block_theme($existing, $type, $theme, $path) {
 return [
   'filterable_block_template' => [
     'variables' => [
       'elementSettings' => NULL,
       'elementMarkup' => NULL,
       'elementContext' => NULL,
       'elementClass' => NULL,
       'filteredData' => NULL,
     ],
     'render element' => 'children',
   ],
 ];
}
Updating any instances of "filterable_block" to your custom element modules machine name.
Next edit your twig template and add the theme variable you set to render out the view, in this example we used filteredData.
<div class="" >
</div>
Enable custom element module
Enable your custom element module either through the UI or using drush in the usual way. Once enabled you should now see your custom element appear in the sidebar browser under "Custom elements".
Create component
Create a component which uses the custom element that you have just created.
- Navigate to Site Studio > Components > Add Component
- Add your custom element to the layout canvas
- Add an Entity browser element to the component form - set this to typeahead and save
- Get the form token from the Entity browser form field and tokenize to the “News type” field created earlier in the custom element
- Add an input element to the component form - set this to type of number
- Get the form token from the Input form field and tokenize to the “Number of items to show” field created earlier in the custom element
- Save the component
- Add your component to a node layout canvas and configure.

